
Tenant Settings
Manage your Webex Connect account settings for your organization. Only account owners can make changes to tenant settings
Time Zone
This setting determines the time zone setting for your Webex Connect tenant. Once configured and/or updated it applies to all the users of the concerned Webex Connect tenant. When the time zone is updated here, it affects the following:
- Timestamp in the debug console logs and flow debug logs.
- Timestamp for delivery receipts.
Note
Webex Connect platform doesn’t support changing/applying the time zone setting only for reports, both at tenant level and user level.
Based on your selection, your account time is displayed on the UI of the platform wherever time has to be selected and the selection a user makes is in the time zone selected for the respective Webex Connect tenant account.

Tenant Level Time Zone Settings
Date Format
The date and time format defaults to the system default format of
YYYY-MM-DD HH:mm:SSin 24-hour format, irrespective of the timezone.
Daylight Saving
Webex Connect supports daylight saving by enabling you to send notifications on the time they were scheduled for, irrespective of the time difference. The events can be scheduled for daylight savings. If applicable to your time zone, the daylight savings are automatically taken into account.
For example, if you have a job scheduled to run at 9:30 am every day in the UK time zone, even on 27th October when daylight savings are set to roll back in the UK, the job continues to run at 9:30 am. The same will hold true when the daylight savings start in March next year.
The time zone offset will also reflect the current daylight savings. For example, a timestamp showing the UTC +1:00 offset for the UK time zone with daylight savings 2019-09-25T13:33:00.538+01:00.
Profile Key
Profile Key is used to identify and authenticate with Profile APIs.
Note
Only the tenant Owner, Full Access Users, and Limited Access Users can view and copy the Profile Key.

Profile Key
Help Desk
The Help Desk feature helps the Partners, Customer Success teams, and Cisco support teams to troubleshoot any customer issues using the cross-launch from Webex Control Hub or CPaaS Central and to prevent non-customer users from accessing the platform through test or dummy accounts.
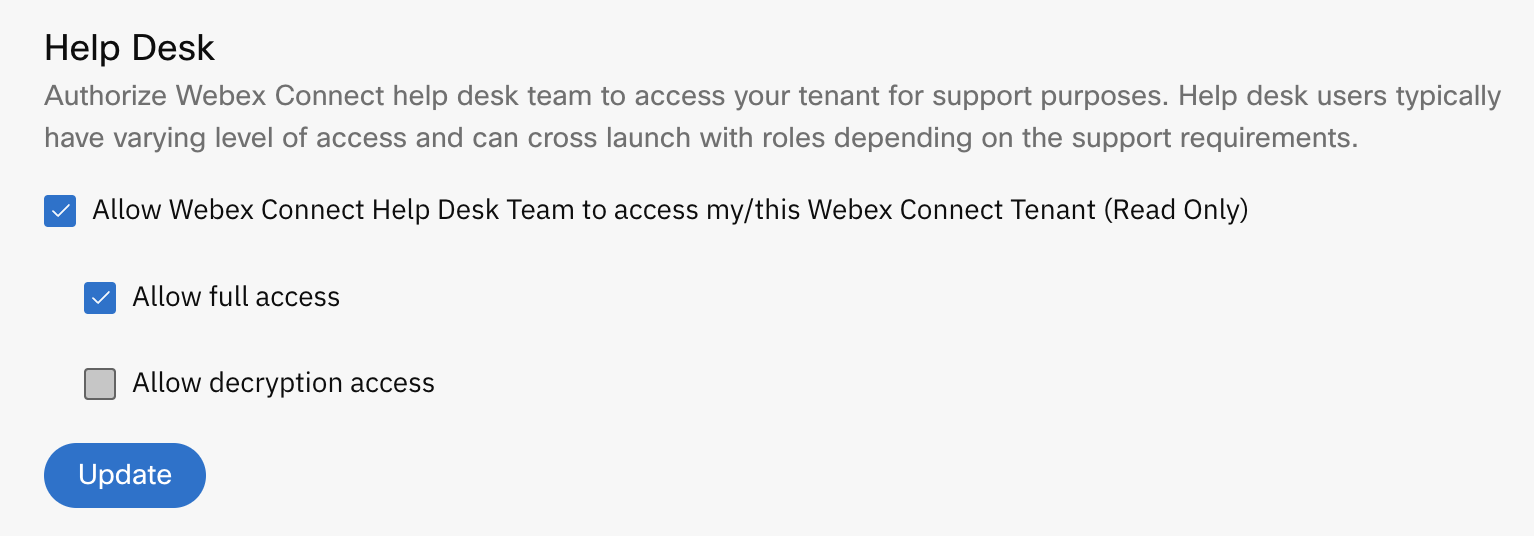
The Help Desk feature enables you to provide different levels of access to the users depending on their role. You can choose to provide read-only access to all the help desk users, irrespective of their role, or provide partial/full access.
The Allow Webex Connect Help Desk Team to access my/this Webex Connect (Read Only) option enables you to assign read-only access to the help desk users to cross-launch into the tenant application for providing support. This option is enabled by default.
The following add-on options let you provide additional access to the help desk users:
- Select the Allow full access option to grant support users the same level of access as their original cross launch role. This option is enabled by default.
- Select the Allow decryption access option if you want to permit support users to decrypt the data, regardless of their assigned role. This option is disabled by default.
Note
If you want to restrict the help desk users to have read-only access, do not enable the add-on options.
Here is an example how the above options work for a user with Partner Full Admin role, cross-launching from Webex Control Hub.
- When all the options are selected, the user will have full access along with the decrypt permission.
- When the add-on options are not selected, the user will have read-only access.
- When only the Allow full access option is not selected, the user will have read-only access along with the decrypt permission.
- When only the Allow decrypt access is not selected, the user will have full access.
- When no options are are selected, the user will see an “Access Denied” page.
If it is disabled for your tenant, select Allow Webex Connect Help Desk Team to access my/this Webex Connect Tenant (Read Only) to enable this function.
Note
Once this is enabled, the help desk users can cross launch into the tenant application based on the access level they are provided in the Admin console – read-only (can only view), full access (access the application completely), or full access with decrypt (access the application completely along with the ability to decrypt the logs).
All the activities performed by the help desk users during cross launch will be captured in the audit logs. The help desk user’s id will be in the format: + ""+ + ""+“help_desk@” +.
Note
This section is visible only to tenant owners. Partners and help desk users cannot see this section.
You can enable the Allow decryption access to help desk users option to permit decryption of the Descriptive Logs for all the support access users irrespective of their role.
Partner and Tenant User Cross Launch
Partners can use the Webex Connect quick links to directly cross-launch the Webex Connect platform for a Contact Center Business Unit (CCBU) customer from the Control Hub. The Webex Connect link is visible under Contact Center Suite, only if digital channels are enabled and the tenant provisioning is completed in the Control Hub. The following image illustrates where the quick links are visible.
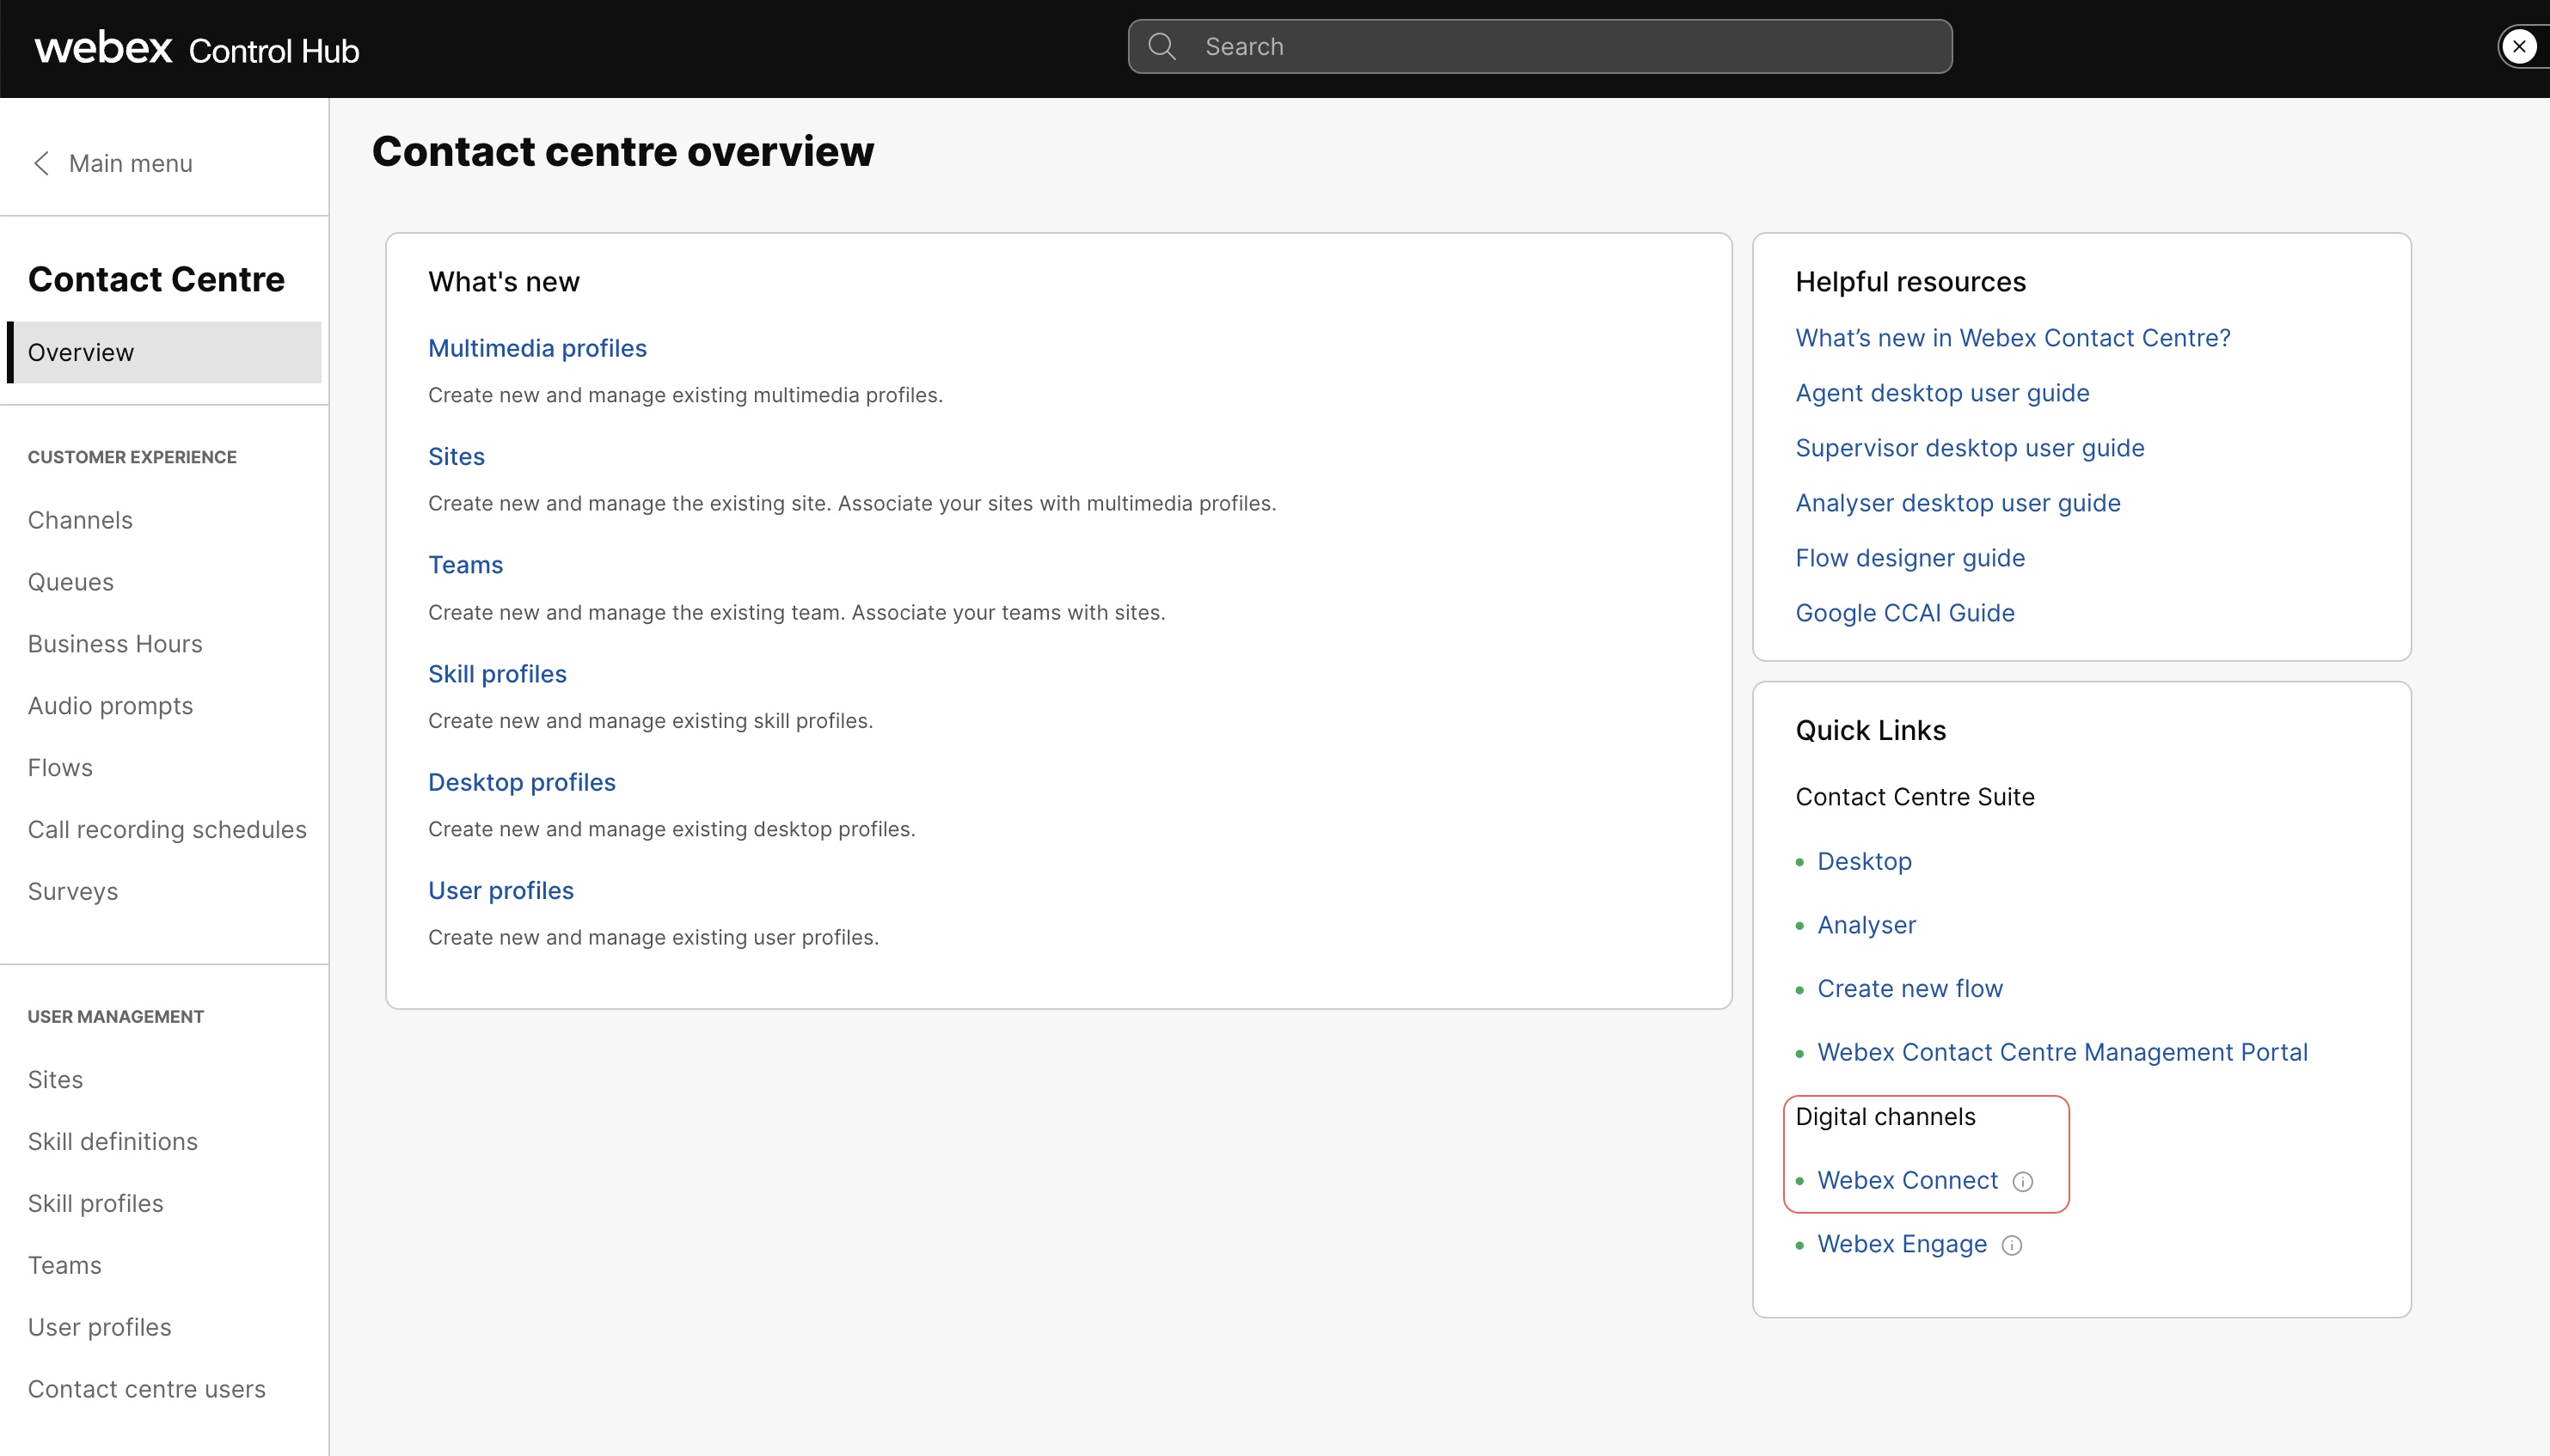
A tenant owner created as part of tenant provisioning will also be able to cross-launch directly into the Webex Connect platform from Control Hub.
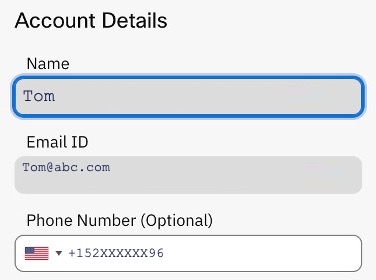
Email Domains
Enter the list of allowed domains for your tenant. This functionality helps in limiting the user creation to only the specified domains. Admins will not be able to add users from any other domains. If no domain is entered in this field, all domains will be allowed.
Note
The domain names will be considered as an exact match; partial matches will not be considered. For example: even if @connect.com is an allowed domain, @abc.connect.com will have to be added as an allowed domain to be considered.
Note
When an admin tries to add a user who does not belong to the allowed domains, an error message “User domain not in allowed list” will be displayed.
Secure handling of Inbound media files
Manage your Webex Connect account settings for your organization. Only account owners can make changes to tenant settings.
Inbound Media Handling on Messaging Channels
Note
This section is available only when the Secure Media Handling feature is enabled for your tenant. Please reach out to your account manager if you would like to enable this feature for your tenant.
When you use Webex Connect for managing customer interactions over messaging channels such as Apple Messages for Business, WhatsApp, Facebook Messenger, etc., by default the incoming attachments and media files from customers a persistent publicly accessible URL is generated by the channel provider (such as in case of Facebook Messenger) or by Webex Connect (for WhatsApp RCS and In-App Messages/Live Chat).
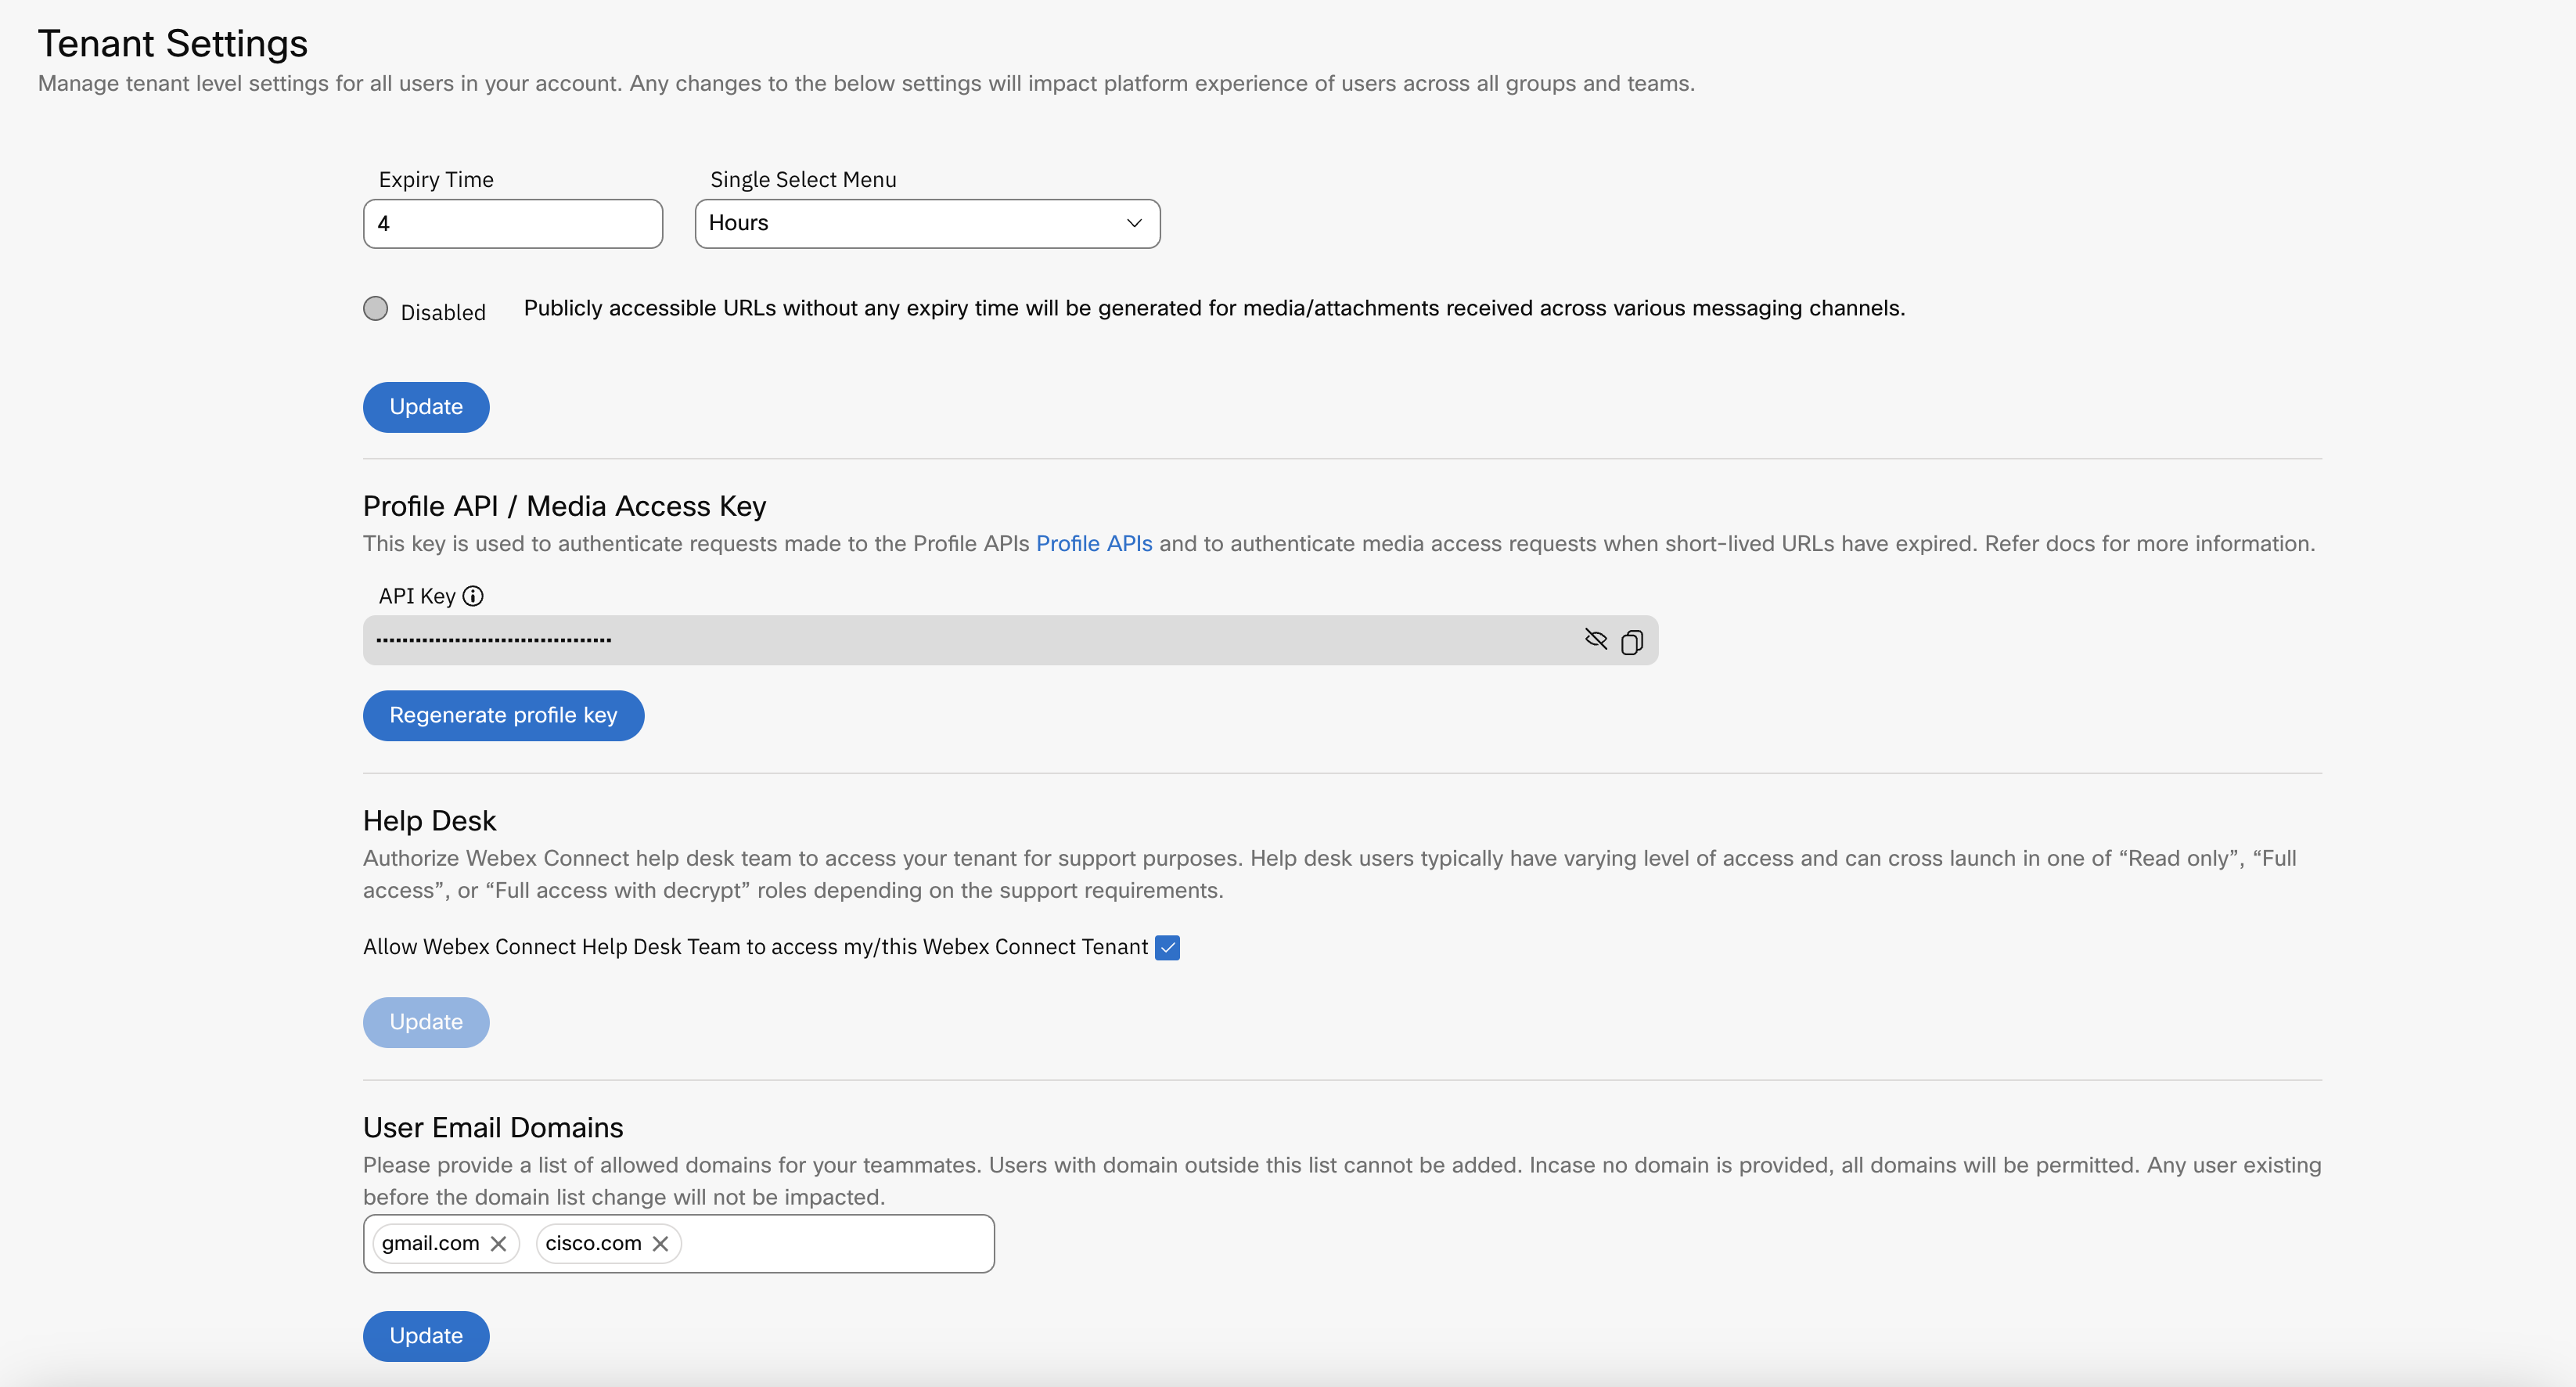
If you want to limit the public accessibility timeframe for these files, you can enable the option to use short-lived URLs under the 'Tenant Settings' section as shown below.

When you enable it, short-lived URLs are generated for all the inbound media/attachments across all messaging channels for a the specified time.
To enable secure media handling on your tenant:
-
Go to Tenant Settings.
-
Under the Inbound Media Handling on Messaging Channels section, select Enabled.
-
Enter the Expiry Time and select Hours or Days for Single Select Menu. You can select between 4 hours to 7 days. The default is 12 hours.
-
Click Update.

After the short-lived URL is expired, authentication will be required (in the header of the request, with header key as "x-imi-connect-media-api-key") to fetch data from the URL.
One of the following two authorizations will be accepted depending on where you are trying to access the media files from:
-
‘Profile API / Media Access Key' can be used to fetch data from URL (Applicable for all channels including in-app messaging).
-
Additional credentials for accessing media/attachments for In-App messaging channels - App’s Client key or JWT Auth key can be used to fetch data from URL.
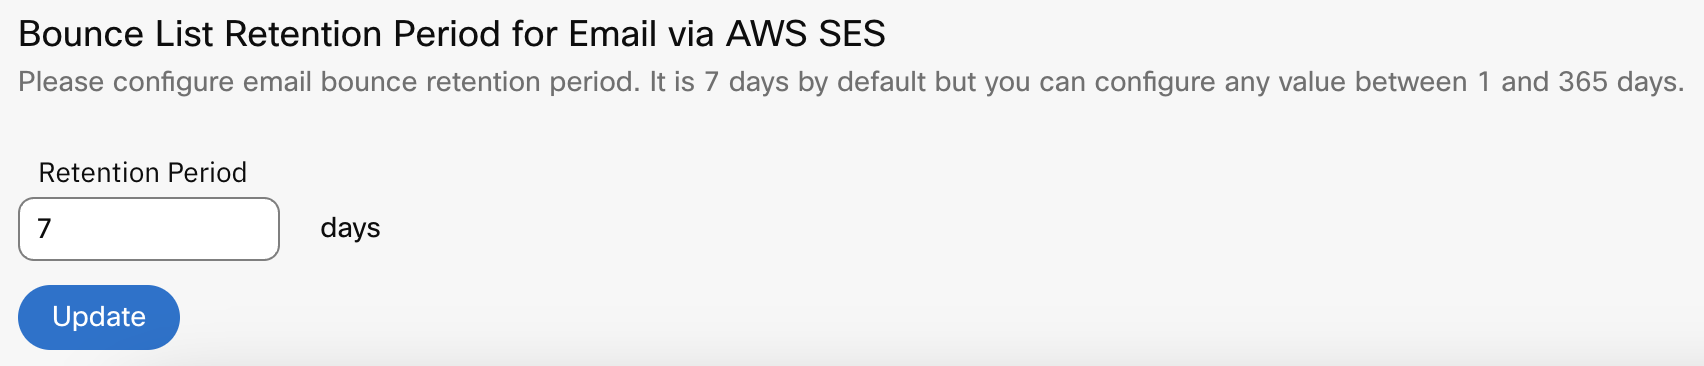
Bounce List Retention Period for Email via AWS SES
You can update the retention period (in days) for email bounce list. For example, if the retention period is set to 10 days, an email address added to the bounce list after the first email bounce, will stay in the list for 10 days, and after that, it will be deleted. When an email is in the bounce list, any attempt to send email to that email address will be failed at the Webex Connect itself. This helps ensure that your email sender reputation isn’t impacted due to emails being triggered to unreachable i.e., often invalid destinations.
The default value is 7 days. You can enter any number from 1 to 365 days.
Note
For existing tenants, the current value will be retained. This is a tenant-level setting and applies uniformly to all email app assets (that use AWS SES as the route) across groups and teams. If you change the retention period, the new retention period applies to the email addresses added after making the change.
Updated 4 months ago