
Push Node
Push Node allows you to configure and send push notifications to your customers across mobile and web applications.
The Push node enables you to send rich and interactive notifications to mobile and web apps that use Webex Connect SDKs.

Push Node
Prerequisites
- An App Asset created on Webex Connect.
- Webex Connect's SDK integrated within your app, with appropriate App ID and Client Key corresponding to the Mobile/Web App Asset configured in Webex Connect.
Note
The app should have at least one registered user, whose User-ID or Device-ID can be used as a destination.
Node Configuration
All the parameters and input fields that you need to define within the node window are explained below.

Node Window
Destination Type
There are different types of identifiers supported in Webex Connect, namely:
- Customer Id is a master ID that is linked to all different channel-specific user IDs of a user within the customer profile. Webex Connect's customer profile is used to store multiple channel identifiers and customer communication preferences for various customers. It is useful in cross channel communication. For e.g: You want to send an exclusive promo code to a user’s app because of previous positive feedback that they have given via Messenger. If you have the customer profile configured with details of both Facebook Messenger PSID and user Id linked with the same customer Id, you can use the Customer-ID of the user since it will remain constant across both the channels.
- UserId is the identifier specific to Push and In-App channels. This is generally created when a user registers on your mobile/web app. It is stored in the application profile. E.g. $(userid).
- AndroidPushId is the identifier for the Android application. E.g. $(android_pushid).
- iOSPushId is the identifier for the iOS application. E.g. $(ios_pushid).
- ChromePushId is the identifier for the Chrome application. E.g. $(chrome_pushid).
- FirefoxPushId is the identifier for the Firefox application. E.g. $(firefox_pushid).
- SafariPushId is the identifier for the Safari application.
- Topic is used to broadcast notifications that come under a particular section of interest. Any user who subscribes to a topic starts receiving notifications published to that topic.
Note
The destination type Topic is not visible in the list, if the Topic Messaging option is disabled for your tenant.
- Segment comes into picture when you want to target users that have subscribed to a specific combination of topics. You can create a segment containing the desired combination of topics and publish notifications to that segment.
Note
The destination type Segment is not visible in the list, if the Segment Messaging option is disabled for your tenant
- HMSPushId is the identifier for the HMS application
Destination
This field contains the destination value corresponding to the selected Destination Type. The value can be static or dynamic. For E.g: If the destination type is Customer-ID, the Destination can be kept dynamic by declaring it as $(customerID).
Message Configuration
This section explains the elements used to orchestrate the notification:
Notification Title
A heading displayed above the top of the notification text to summarize its content or purpose. The message configuration varies for Android, iOS and Web Browsers. Here are the details for each of these.
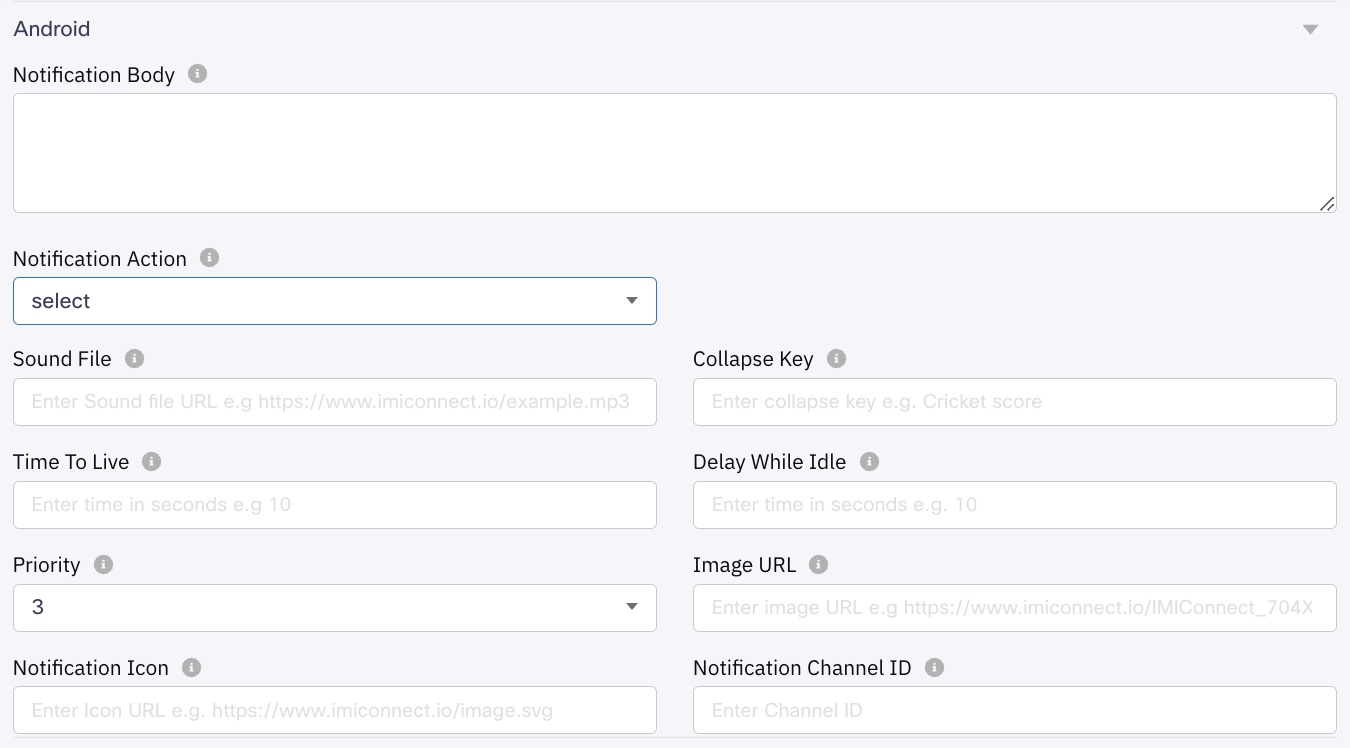
Android
These are Android-specific configurations.
-
Notification Body: Enter the text for the notification body for Android. Eg: Hello this is a test push notifications.
-
Notification Action: There are five types of actions that can be executed when a user taps on the notification:
- OPEN_URL - When you select an Open_URL, it requires a URL as action value.
Eg: www.webexconnect.com. - OPENWEBVIEW - When you select an OpenWebView, it requires a URL as action value.
Eg: www.webexconnect.com. - DEEPLINK - When you select DeepLink, it Requires a deeplink URL as action value.
Eg: {{inappid}}://command/Notifications - OPEN_HTML - When you select an Open_HTML, it requires an html code to render as action value.
Eg: WebexConnect - OPEN_APP - Does not require an action value.
- OPEN_URL - When you select an Open_URL, it requires a URL as action value.
-
Sound File (Discontinued): Enter the url of the sound file that must be played during the notification.
-
Collapse Key: Enter Collapse key. For example, Cricket score.
If you send multiple push notifications to a device with the same collapse key, and all of them are waiting in the FCM server to be delivered to the device, FCM will only send the latest push notification for the collapse key you provide. This parameter would only work if you use FCM as the Push provider. -
Time To Live: Enter the value for time to live in seconds. E.g. 100 seconds.
You can specify the lifespan of a message. If your message can't be delivered right away (like if a phone is off or offline), FCM will hold onto it and try again later. But some messages, like video call alerts or event invites, are only useful for a short time. For those, you can set a time limit from 0 to 2,419,200 seconds (0 to 28 days). If you don't set a limit, FCM will keep trying to deliver your message for up to 4 weeks. -
Delay While Idle (Deprecated): In-case when a notification is received, the device is in idle state, you can choose to wait for the user to be active before you display the notification on the device. E.g. 10 seconds.
-
Priority: You can define the priority of a notification by assigning an integer from ranging 1 to 5, 5 being the highest. E.g. 4.
-
Image URL: Enter the url of the image which is used to send images in the notification. E.g. https://www.webexconnect.io/image_1.
-
Notification Icon: Enter the URL for the notification icon. Adding an icon for the push notifications creates a unique, branded experience. E.g. https://www.webexconnect.io/image.svg
-
Notification Channel ID: Enter the channel ID for devices that run on Android Oreo or above. Each notification must be assigned with a channel ID, for example, WebexConnect_Channel.
Starting from Android 8.0 (API level 26), all notifications must be assigned to a notification channel; otherwise, they will not appear for the user. Instead of disabling all notifications, users have the option to control notifications by disabling a specific channel within the app. This allows for more granular control over the types of notifications they want to receive. For more information on the Notification Channel, refer to the Android official documentation.
iOS
These are iOS specific configurations.
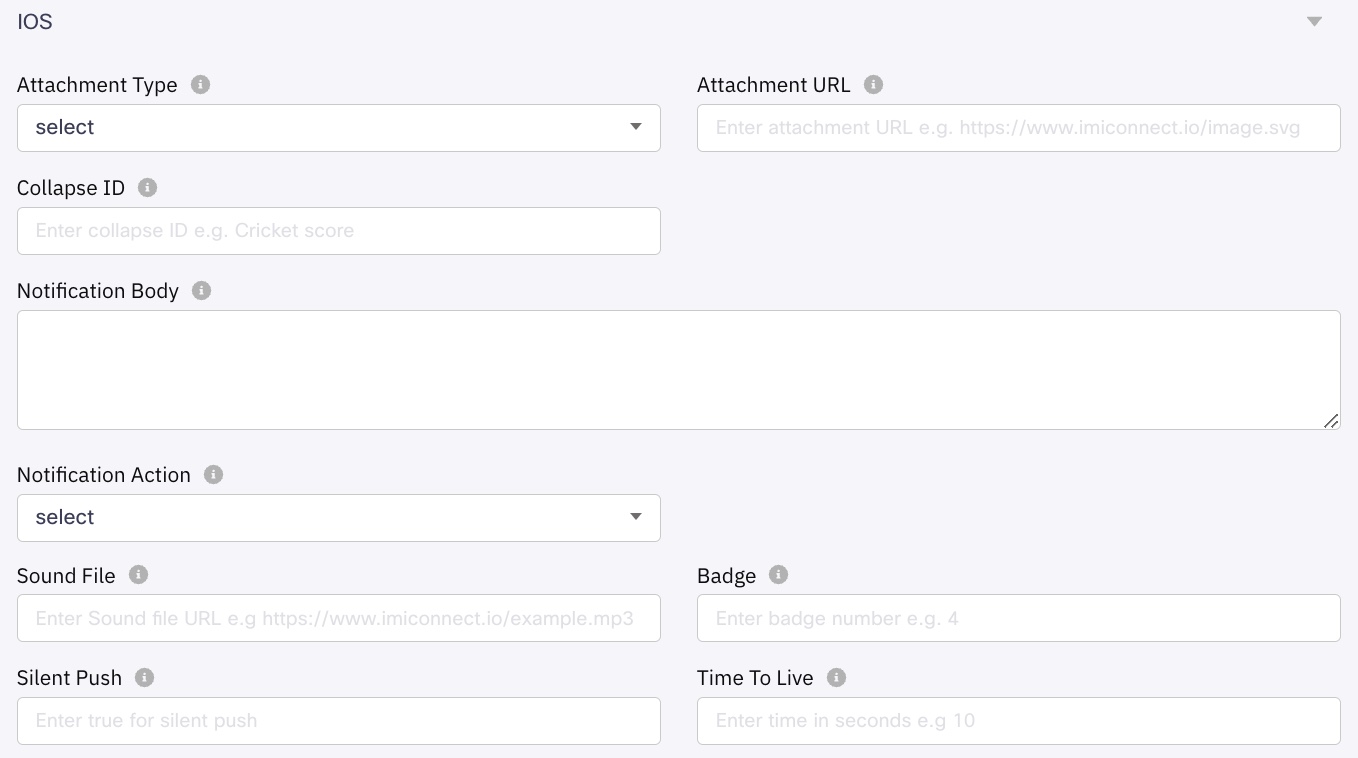
- Attachment Type - Select the required type (Image, Audio, and Video) from the dropdown.
- Attachment URL - Enter the attachment URL. It is used for sending images, audio, and videos with notifications.
- Collapse ID - Enter the unique key. E.g. Cricket score.
If you send multiple push notifications to a device with the same collapse key, and all of them are waiting in the FCM server to be delivered to the device, FCM will only send the latest push notification for the collapse key you provide. This parameter would only work if you use FCM as the Push provider. - Notification Body - Enter the text for the notification body for iOS. Eg: Hello this is a test push notifications.
- Notification Action: Select one of the following from dropdown. There are five types of actions that can be executed when a user taps on the notification:
- OPEN_URL - When you select an Open_URL, it requires a URL as action value.
Eg: www.Webexconnect.com. - OPENWEBVIEW - When you select an OpenWebView, it requires a URL as action value.
Eg: www.webexconnect.com. - DEEPLINK - When you select DeepLink, it Requires a deeplink URL as action value.
Eg: {{inappid}}://command/Notifications - OPEN_HTML - When you select an Open_HTML, it requires an html code to render as action value.
Eg: WebexConnect - OPEN_APP - Does not require an action value.
- OPEN_URL - When you select an Open_URL, it requires a URL as action value.
- Notification Value - Enter the URL to be navigated to when the notification is clicked.
- Sound File - Enter the name of the sound file that must be played during the notification. You can pass either 'default' for the standard sound or specify a custom sound. To use the default sound, pass the value 'default,' and the system's default notification sound will be used. To add custom sounds, add the audio files to the Xcode project root. Make sure Add to targets is selected when adding files so that they are automatically added to the bundle resources. External URLs are not supported. You can pass the filename with the extension (newsound.mp3) of the sound file. Custom sounds enhance your app's experience by adding a unique touch to your notifications. You can set a specific sound for all notifications or just for certain ones, depending on the action.
- Badge - Enter the value to be displayed as a badge of the app icon. E.g. 10.
- Silent Push - Set this parameter value to True, then user will not receive a notification of the delivered message, although the app will receive the pushed message. Currently, this feature is not available. Any values passed as True or False will not be considered.
- Time to live: Enter the value for time to live in seconds. The period of time for which a notification would reside in the notification tray. E.g. 100 seconds.
You can specify the lifespan of a message. If your message can't be delivered right away (like if a phone is off or offline), APNs will hold onto it and try again later. But some messages, like video call alerts or event invites, are only useful for a short time. For those, you can set a time limit from 0 to 2,592,000 seconds (0 to 30 days). If you don't set a limit, APNS will keep trying to deliver your message for up to 30 days.
Webpush
These are Web-specific configurations. For Webpush, you first need to select all the browsers to be targeted. Following are the available options:
- Firefox and Chrome
- Safari
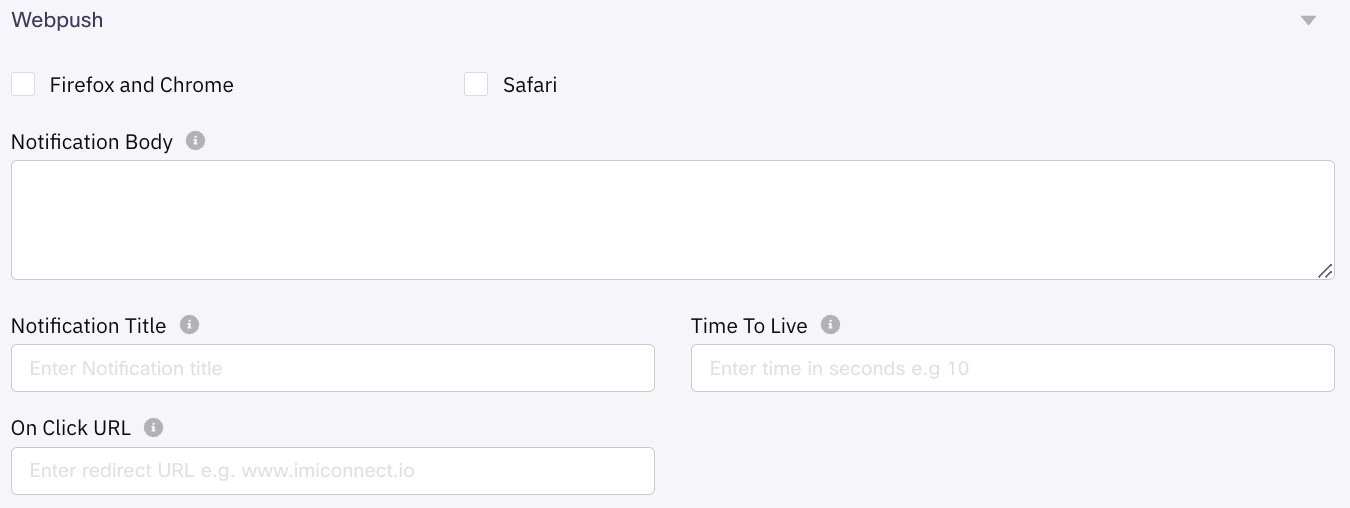
- For Firefox and Chrome:
- Notification Body: Enter the text for the notification body for Webpush. Eg: Hello this is a test push notifications.
- Notification Title: Enter the title for the notification. A heading displayed above the top of the notification text to summarize its content or purpose. Eg: Seasonal Sale
- Time To Live: Enter the value for time to live in seconds. The period of time for which a notification would reside in the notification tray. E.g. 100 seconds.
You can specify the lifespan of a message. If your message can't be delivered right away (like if a phone is off or offline), APNs will hold onto it and try again later. But some messages, like video call alerts or event invites, are only useful for a short time. For those, you can set a time limit from 0 to 2,592,000 seconds (0 to 30 days). If you don't set a limit, APNS will keep trying to deliver your message for up to 30 days. - On Click URL: Enter the URL to navigate when clicked on notification.
- Collapse Key: Enter Collapse key. E.g. Cricket score.
If you send multiple push notifications to a device with the same collapse key, and all of them are waiting in the FCM server to be delivered to the device, FCM will only send the latest push notification for the collapse key you provide. This parameter would only work if you use FCM as the Push provider.
- For Safari:
- Notification Body: Enter the text for the notification body for Webpush. Eg: Hello this is a test push notifications.
- Notification title: Enter the title for the notification. A heading displayed above the top of the notification text to summarize its content or purpose. Eg: Seasonal Sale.
- Time to live: Enter the value for time to live in seconds. The period of time for which a notification would reside in the notification tray. E.g: 100 seconds.
You can specify the lifespan of a message. If your message can't be delivered right away (like if a phone is off or offline), APNs will hold onto it and try again later. But some messages, like video call alerts or event invites, are only useful for a short time. For those, you can set a time limit from 0 to 2,592,000 seconds (0 to 30 days). If you don't set a limit, APNS will keep trying to deliver your message for up to 30 days. - On Click URL: Enter the URL to navigate when clicked on notification. Eg: www.webexconnect.com.
- Action Text: Enter the action text. It is the customizable label for the button that users can click to interact with the notification. The label provides a better context of the URL to which the user will be redirected. E.g. A notification asking user to create a new account can have a button with the label - 'Sign-Up'.
Note
Currently, Web Push notifications are supported only for Chrome and Firefox.
Interactions
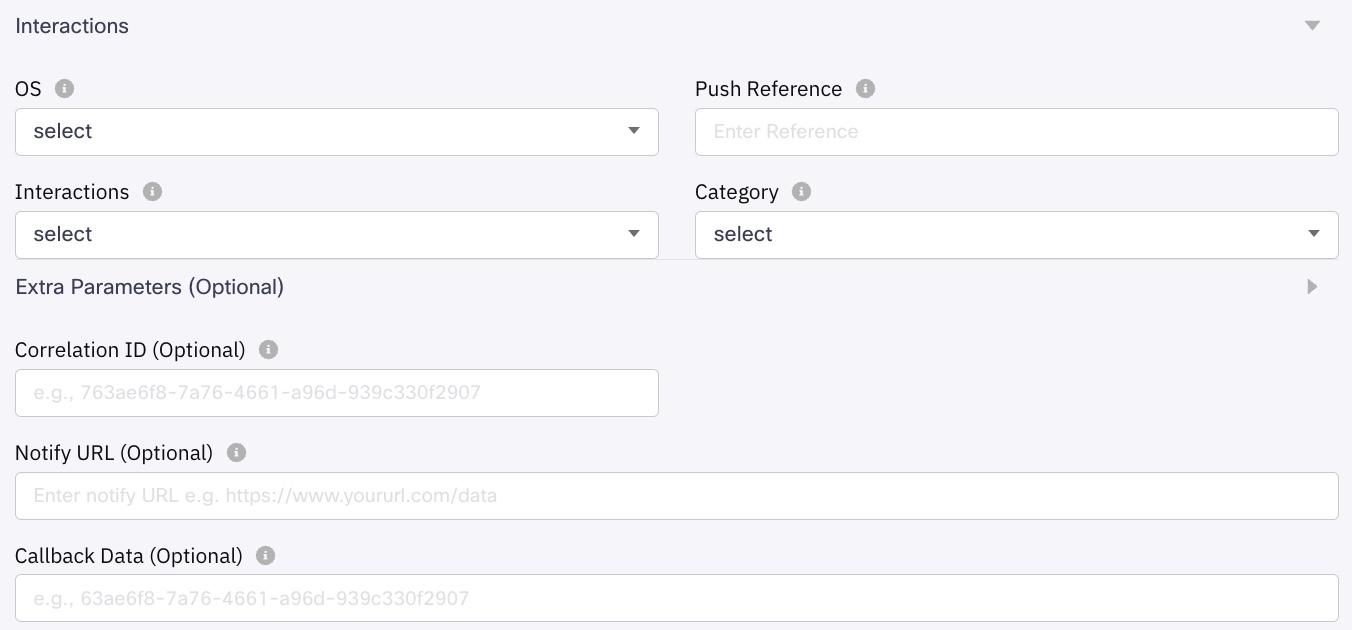
- OS - the operating system for the interactions. You can select iOS, Android, or All.
- Push Reference - Enter the unique value to make interaction result available as a trigger.
- Interactions - Select single button or two buttons. For more information refer the below table.
- Category - Based on the Category selected, the actions for the buttons vary. The available category for interactions are Single button and Two buttons. For more information refer the below table.
- Button Actions - Select the appropriate action. Based on the action selected, the Action Parameter field is displayed. For more information refer the below table.
- Following are the available button actions for both single button and two buttons. Here are some examples of the Action parameter.
- OPENURL - When you select an Open_URL, it requires a URL as action value.
Eg: www.Webexconnect.com. - OPENAPP - Does not require an action value.
- DEEPLINK - When you select DeepLink, it requires a deeplink URL as action value.
Eg: {{inappid}}://command/Notifications - OPENWEBVIEW - When you select an OpenWebView, it requires a URL as action value.
Eg: www.webexconnect.com. - SHARE - When you select Share, it requires the content intended for sharing to be specified.
- TRIVIAL_REPLIES
- DISMISS - When you select Dismiss, it dismisses the notification. Does not require an action value.
- OPENURL - When you select an Open_URL, it requires a URL as action value.
- Following are the available button actions for both single button and two buttons. Here are some examples of the Action parameter.
The following table contains the information about the Category and Actions when a Single button or Two buttons interactions are selected:
| Interactions | Category | Button Action 1 | Button Action 2 |
|---|---|---|---|
| Single button | Single button - Open Single button - Share Single button - Unsubscribe Single button - Subscribe | OPENURL OPENAPP DEEPLINK OPENWEBVIEW SHARE TRIVIAL_REPLIES | Not Applicable |
| Single button | Single button - Dismiss | DISMISS | Not Applicable |
| Two buttons | Two button - Like or Share Two button - Ok or Learn More Two button - Yes or No Two button - Subscribe or Unsubscribe | OPENURL OPENAPP DEEPLINK OPENWEBVIEW SHARE TRIVIAL_REPLIES | OPENURL OPENAPP DEEPLINK OPENWEBVIEW SHARE TRIVIAL_REPLIES |
| Two buttons | Two button - Buy Now or Buy Later Two button - Play now or PlayLater Two button - Later or Now Two button - Shopnow or Cancel Two button - Share or Cancel Two button - Accept or Cancel | OPENURL OPENAPP DEEPLINK OPENWEBVIEW SHARE TRIVIAL_REPLIES | DISMISS |
Extra Parameters
Along with the message, you can send additional information like some user-specific property, or any custom parameter that is required to display the message in a certain fashion within the app. This information can be sent in the form of extra parameters.
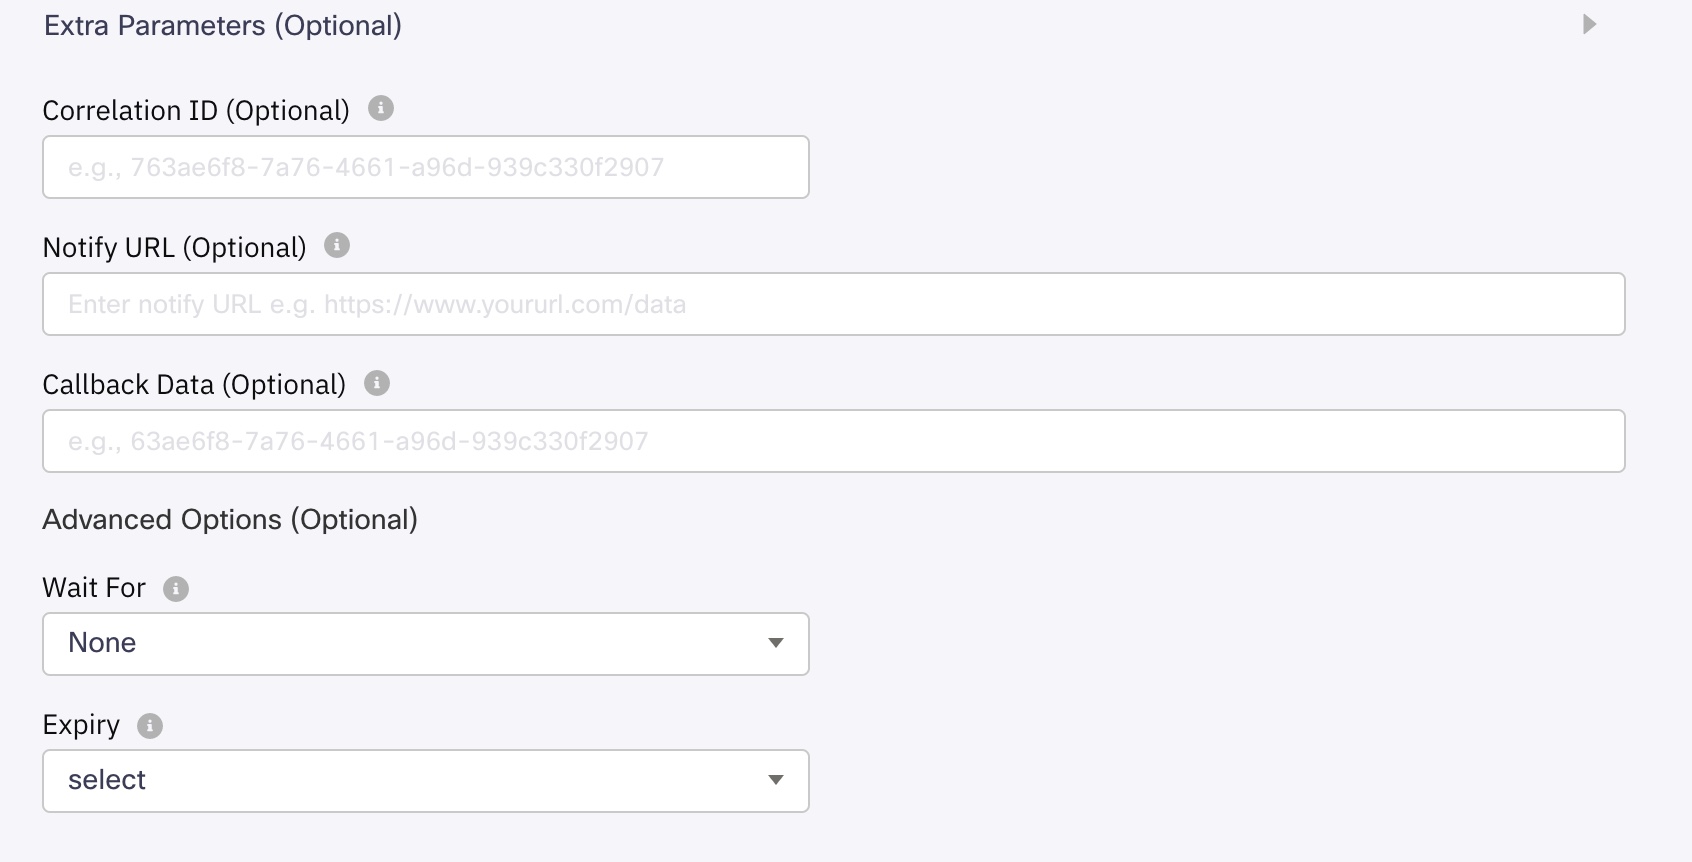
Correlation ID
You can assign a unique ID of your choice to each Push message. This ID is returned to the platform with the delivery report and can be used to identify the message.
Callback Data
In case there is additional data to be sent along with the delivery reports to the URL, you must specify that here.
Validations forCallback Data & Correlation ID:
- Callback Data, Correlation Id fields are optional for all the channels. Send node can be saved without providing these fields.
- All characters, Alphabets, Numbers, and special characters are accepted.
- Variables can be added.
- Hard coded values are accepted.
- On Platform side, there is no Max or Min length validation for these fields.
Notify URL
You can choose to notify a URL with the delivery report for the Push message. This field accepts only a valid URL or a variable. If an invalid URL is passed in API request or via a variable, then such request will not be considered eligible for retries.
Validations for Notify URL:
- It is an optional field optional for all the channels. Send node can be saved without providing these fields.
- Notify URL should be filled with proper URL format. Otherwise, error message ‘Invalid URL, field accepts only valid URL or variable’ will be displayed.
- When space is provided in front of the URL, Invalid URL, field accepts only valid URL or variable’ will be displayed.
- When space is provided at the end of the URL, space gets trimmed and ignored and DRs are received to the URL.
- No Max length validation.
- Variables can be added to this field.
Advanced Options
Wait For
The life-cycle of push notification has three stages. You can wait for a callback at any of the stages before proceeding further in the flow by selecting any one of the following:
-
Gateway Submit: The first stage where the configured message along with the destination is submitted to the gateway for delivery.
-
Delivery Report: The second stage, in which the message is delivered to the targeted device.
-
Success Delivery Receipt: The third stage or option, when selected, the flow execution will only wait for a success Delivery Receipt. It will ignore the failures. If there are no Success Delivery Receipts returned before the expiry, the node will execute from Ontimeout edge.
Note
Success Delivery Receipt is only available as an option if the Destination Type is set as 'UserId'.
-
Read Report: The last stage is when the target user actually reads the message.
Expiry
Time in seconds or UTC, after which node session will Webex Connect and the flow would proceed to the next node.
Node Outcomes
- onsuccess: Node executed successfully.
- onsubmit: Submitted to a gateway.
- ondrsuccess: Received DR for the transaction.
- Onread: Received RR for the transaction.
- onpolicyfail: the flow exits through this node outcome when the expiry condition cannot be met.
- ondrfail: Failed to receive DR.
- onerror: the flow exits through this node outcome when there is an error.
- Ontimeout: Session Webex Connect
Updated 24 days ago