
Live Chat/In-App Messaging
Learn how you can create and manage Live Chat/In-App message templates.
Live Chat/In-App Message Configuration
Sending Messages
Templates with the message type - 'Rich Text Message' can only be sent using the messaging API. Its not supported via Send node. On the other hand, Templates with message type - 'Form' can only be sent using the In-App / Livechat send node. It is not supported via the messaging API.
Configure RichText Message
- Log in to the Webex Connect platform.
- Go to Tools → Templates.
- Click Add New Template.
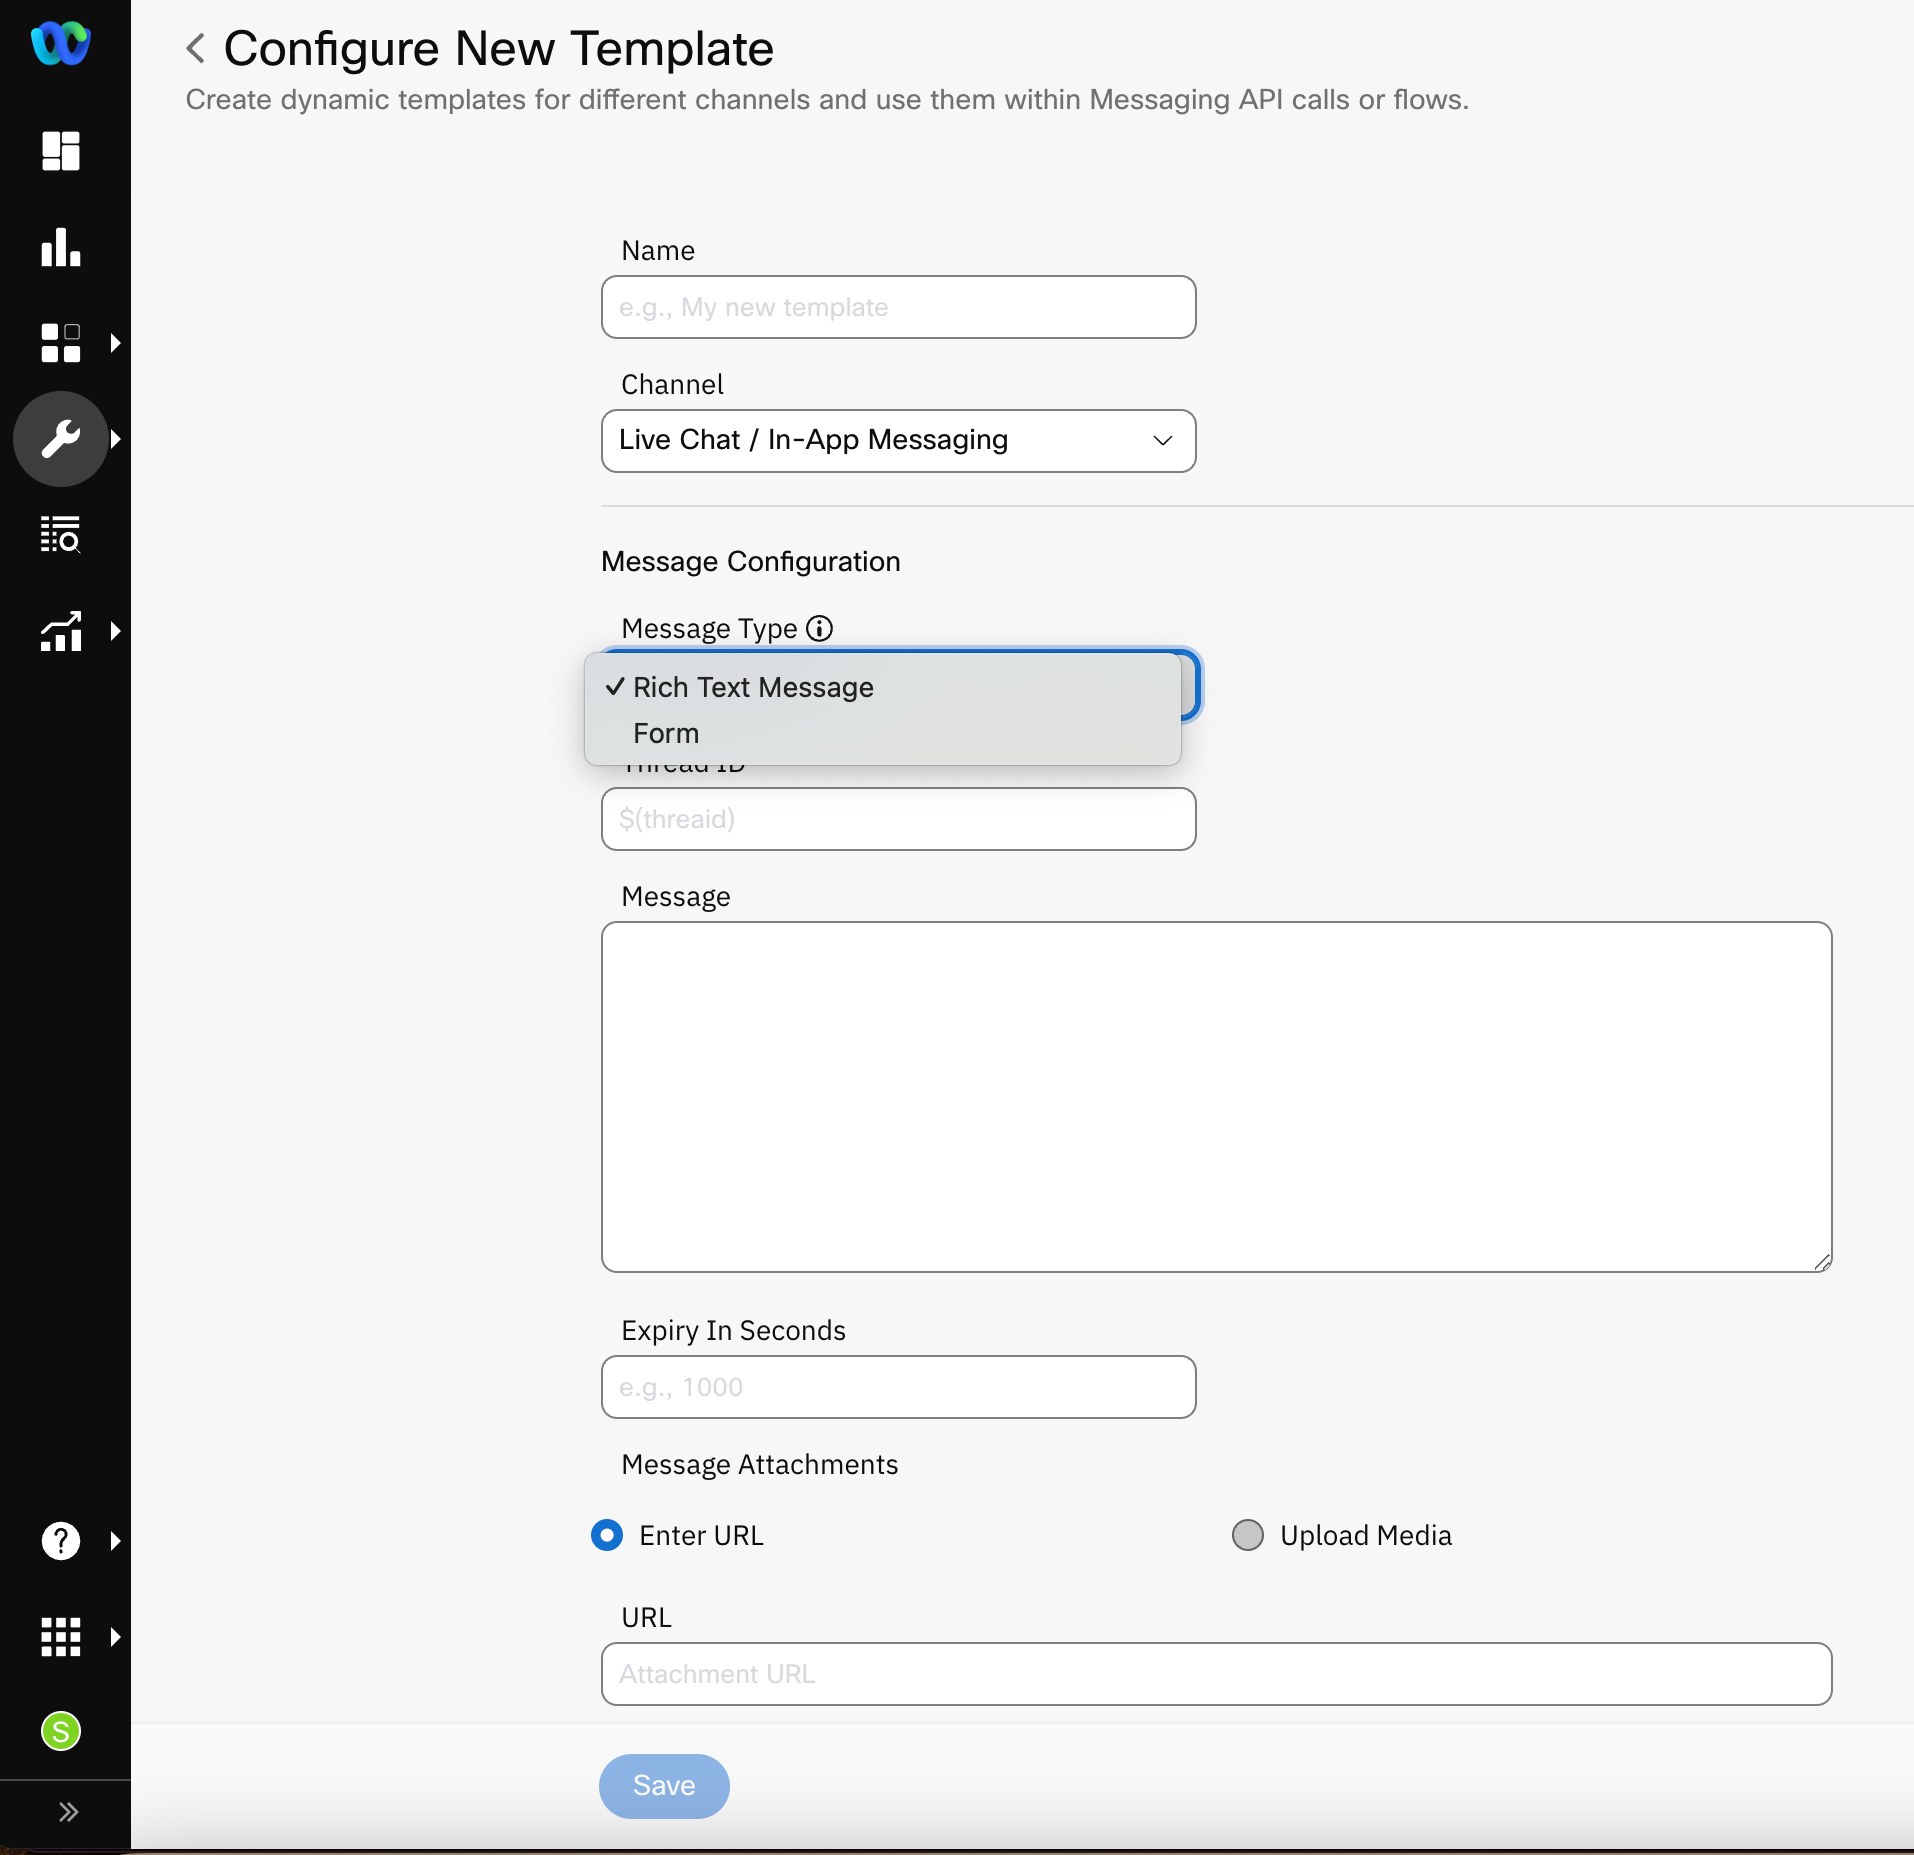
- Enter a Name for the template and select the Channel as LiveChat/In-app Messaging. The maximum number of characters allowed is 75.
- Select the Message Type as Rich Text Message.
- Enter a unique Thread ID for the conversation. Each message is always linked to a thread that has a unique Thread-ID. A thread can be imagined as a container that holds all the to and fro messages that are linked to it. The thread ID is used to fetch all the messages corresponding to one chat session and display them in the form of a conversation.
- Enter the Message to appear in the conversation.
- Provide an Expiry for the Message in seconds.
- For the Message Attachments, either enter a URL or upload media.
- Configure Notification Settings. This is an optional step.
a. Provide Notification Title and Notification text.
b. Configure the iOS Extras like Notification Sound, Badge, Notification Attachment, Collapse Key, Notification Action Type, and Notification Action Value for the notification.
c. Configure the Android Extras like Notification Sound, Notification Image, Collapse Key, Notification Action Type, Notification Action Value, Notification Icon, and Notification Channel ID for the notification.
d. Configure the Android Extras like Action Text, Collapse Key, and On-click URL for the notification. - Configure Action Buttons for the notification like Push Reference, Interactions, and Category.
- Lock the Template to prevent other users from making any changes. This is optional.
- Click Save. The template is now saved and ready for use in the workflows.
Configure Form Message
- Log in to the Webex Connect platform.
- Go to Tools → Templates.
- Click Add New Template.
- Enter a Name for the template and select the Channel as LiveChat/In-app Messaging.
- Select the Message Type as Form.
- Provide a Title for the form. The title appears to the users before displaying the form fields.
- Click Add Fields in the Form Fields section.
a. Select the Type of the form field. The types can be Text, Name, Email, Integer, Decimal, Date, Dropdown. For the form field of type Dropdown, you also need to configure the options along with the label. For example, if you are complaining about delivery issues on an eCommerce website, the options can be delayed shipment, damaged goods, etc.
b. Provide a unique Name for your field. This can be alphanumeric.
c. Provide the Label of the field. This is the name of the form field that appears to the end-user.
d. Select if the field is Mandatory. If the field is mandatory, the app developer can configure appropriate validations for the form field.
e. If you have selected Dropdown as the Type, add options for the dropdown. Click the + icon to enter up to 8 options.
f. Provide a Description of the form field.
g. Click Save.
h. Repeat steps a to f to add other form fields.
After the template is created and saved, it is ready for use in the workflows.
Character Limits and Validations
- For Form
- For Title, the maximum number of characters allowed is 300.
- For Form Fields
- For each Type selected, the maximum number of characters allowed is 100 for the Name field and no special characters are allowed.
- For Label, the maximum number of characters allowed is 100 and no special characters are allowed.
- For Description, the maximum number of characters allowed is 100 and no special characters are allowed.
- When you select Dropdown as the Type, the maximum number of characters allowed is 100. You can add up to 8 options.
Updated 23 days ago