
Live Chat/In-App Messaging Node
The Live Chat/In-App Messaging node enables you to send rich messages comprising images, videos, location, files, etc along with text, to the mobile and web apps that use Webex Connect’s SDKs.
It can be used to send automated responses to customers or to send one-off messages like exclusive offers, promo codes, terms, and conditions, etc. In combination with the Receive node, it can be used to build an end to end chatbot. There are options to wait for a delivery receipt or read receipt, before proceeding to the next node. These are helpful in cases where you only want to reach out to your customers, once they have received or read a particular message.
Messages can have special attributes attached to it. For e.g. if there are two types of messages, namely promotional and non-promotional, you can use an Extra Parameter to categorize the messages into these two types.

Live Chat/In-App Messaging Node
Prerequisites
To be able to send In-App messages one must have:
- An App Asset created on Webex Connect.
- Webex Connect’s SDK integrated within your app, with appropriate App ID and Client Key, corresponding to the App asset, embedded within the app.
Note
The app should have at least one registered user, whose User ID, Push Token, or Customer ID can be used as a destination.

Node Window
Node Configuration
All the parameters and input fields that you need to define within the node window are explained below.
Destination Type
There are different types of identifiers supported in Webex Connect to target a user, namely:
-
Customer-ID is a master ID that is linked to all different channel-specific user IDs of a user within the customer profile. Webex Connect's customer profile is used to store multiple channel identifiers and customer communication preferences for various customers. It is useful in cross channel communication. For e.g: You want to send an exclusive promo code to a user’s app because of previous positive feedback that they have given via Messenger. If you have the customer profile configured with details of both Facebook Messenger PSID and user id linked with the same customer ID, you can use the Customer-ID of the user since it will remain constant across both the channels.
-
User-ID is the identifier specific to Push and In-App channels. This is generally created when a user registers on your mobile/web app. It is stored in the application profile. User-ID is used to orchestrate to and fro in-app communication, where you’ll directly get the required user-ID when a user initiates the chat.
-
Topic is used to broadcast messages that come under a particular section of interest. Any user who subscribes to a topic starts receiving messages published to that topic.
Note
The destination type Topic is not visible in the list, if the Topic Messaging option is disabled for your tenant.
- Segment is used when you want to target users that have subscribed to a specific combination of topics. You can create a segment containing the desired combination of topics and publish messages to that segment.
Note
The destination type Segment is not visible in the list, if the Segment Messaging option is disabled for your tenant.
Destination
Corresponding to the selected destination type, you need to assign the value of the destination. It can be static or dynamic. For Eg: If the destination type is Customer-ID, the Destination can be kept dynamic by declaring it as $(customerID).
Message Configuration
This section contains all the elements required to orchestrate the message.
Message Type
- Message
- Form
- Generic Template
- Message with Quick Replies
Message
The body of the message is defined in this field.
- Select the required Destination Type from the list.
- Enter the Destination ID or Name based on the Destination Type selected.
- Select the Message Type as Message.
- Enter the content for the Message.
- Enter the variables for Template Elements.
- Enter the Thread ID, Notification Title, and Notification Text.
- Click Save.

Form
- Select the required Destination Type from the list.
- Enter the Destination ID or Name based on the Destination Type selected.
- Select the Message Type as Form.
- Select the Content Type as:
- Static to send a static form message that is configured in the Form Template. Select the required template from the Form Template.

- Select the Content Type as Dynamic to send a form body dynamically as a variable in the run time. Enter the JSON variable in the Form Body.

*Dynamic Content Type Sample Payload
{
  "reference": "feedback-form",
  "title": "Hi there, please fill the form below",
  "fields": [
    {
      "type": "text",
      "name": "full_name",
      "label": "Full name",
      "description": "Full name of the customer",
      "mandatory": true
    },
    {
      "type": "text",
      "Email": "full_Email",
      "label": "Email Address",
      "description": "Full Email of the customer",
      "mandatory": true
    },
    {
      "type": "dropdown",
      "name": "category",
      "label": "Category dropwon",
      "description": "Select categories applicable",
      "options": [
        "debit",
        "credit",
        "netbanking"
      ],
      "mandatory": true
    },
    {
      "type": "multiSelectDropdown",
      "name": "category",
      "label": "Multiselect dropdownCategory",
      "description": "MultiSelect categories applicable",
      "options": [
        "debit",
        "credit",
        "netbanking"
      ],
      "mandatory": true
    }
  ]
}
- Enter the Thread ID.
- Click Save.

Message with Quick Replies - Static
- Select the required Destination Type from the list.
- Enter the Destination ID or Name based on the Destination Type selected.
- Select the Message Type as Message with Quick Replies.
- Enter the content for the Message.
- Select the Content Type as Static.
- Enter the Reference, Button Title, Button Identifier, Image URL, and Payload.
- Enter the Thread ID, Notification Title, and Notification Text.
- Click Save.

Message with Quick Replies - Dynamic
- Select the required Destination Type from the list.
- Enter the Destination ID or Name based on the Destination Type selected.
- Select the Message Type as Message with Quick Replies.
- Enter the Message.
- Select the Content Type as Dynamic.
- Enter the variables for Quick Replies.
- Enter the Thread ID, Notification Title, and Notification Text.
- Click Save.

Generic Template - Static
- Select the required Destination Type from the list.
- Enter the Destination ID or Name based on the Destination Type selected.
- Select the Message Type as Generic Template.
- Enter the content for the Message.
- To define static content in the node, select the Content Type as Static.
- Provide the desired value for Reference, Title, Subtitle and Image URL fields
- Select the Button Type as either Postback or Web URL depending on your usecase.
- Fill the Button Title, Button Identifier, and Payload fields
- Click Save.

Generic Template - Dynamic
- Select the required Destination Type from the list.
- Enter the Destination ID or Name based on the Destination Type selected.
- Select the Message Type as Generic Template
- Enter the content for the Message.
- Select the Content Type as Dynamic.
- Enter the variables for Template Elements.
- Enter the Thread ID, Notification Title, and Notification Text.
- Click Save.

Content Type
Content Type can be static or dynamic. Select Static if you want to enter static values. Select Dynamic, if you want to pass dynamic values as quick replies.
If you select Static, enter the following fields:
- Reference - This field can be used to pass some message tag that can be used as reference.
- Title - Title of the template. This is only for Generic Template.
- Subtitle - Subtitle of the template. This is only for Generic Template.
- Image URL - URL of the image that is sent as an attachment in the template.
- Button Type - Select the button type as Web URL or Postback. This is only for Generic Template.
- Button Title - Title or label of the button.
- Button Identifier - Unique identification number corresponding to the button.
- Payload - Enter the payload that must be returned when clicked on button
- Add Button - Click this to add another button. This is only for Generic Template
- Add Template Element - Click this to add another template element. This is only for Generic Template.
If you select Dynamic, provide the variable that contains the complete JSON objects for Template Elements.
Add SMART LINK
SmartLink is a single URL, which contains multiple offers in it. For example, you can create a single URL for multiple network marketing channels including email, SMS, company website, and social. (content review required)
Thread-ID
Each message is always linked to a thread that has a unique Thread-ID. A thread can be imagined as a container that holds all the to and fro messages that are linked to it. It is usually used to fetch all the messages corresponding to one chat session and display it in the form of a conversation.
Notification Title
It's an optional parameter that is used if you want to send a notification for the particular in-app message, in-case the user is not using the app at the moment.
Notification Text
Contains the text message which is sent to the user.
Message Attachment
To send a rich message that contains attachments you need to declare the:
- Attachment Type: Select the required type (Image, Video, Documents, and Location) from the dropdown.
- Attachment URL: Enter the attachment URL. It is used for sending images with notifications.
- Attachment Size: Enter the attachment size in MB.
OS Specific Parameters
Some properties of the message like notification sound, notification action, etc differ across OS. These can be configured in the below sections:
Extra Parameters
Along with the message, you can send additional information like some user-specific property, or any custom parameter that is required to display the message in a certain fashion within the app. This information can be sent in the form of extra parameters.
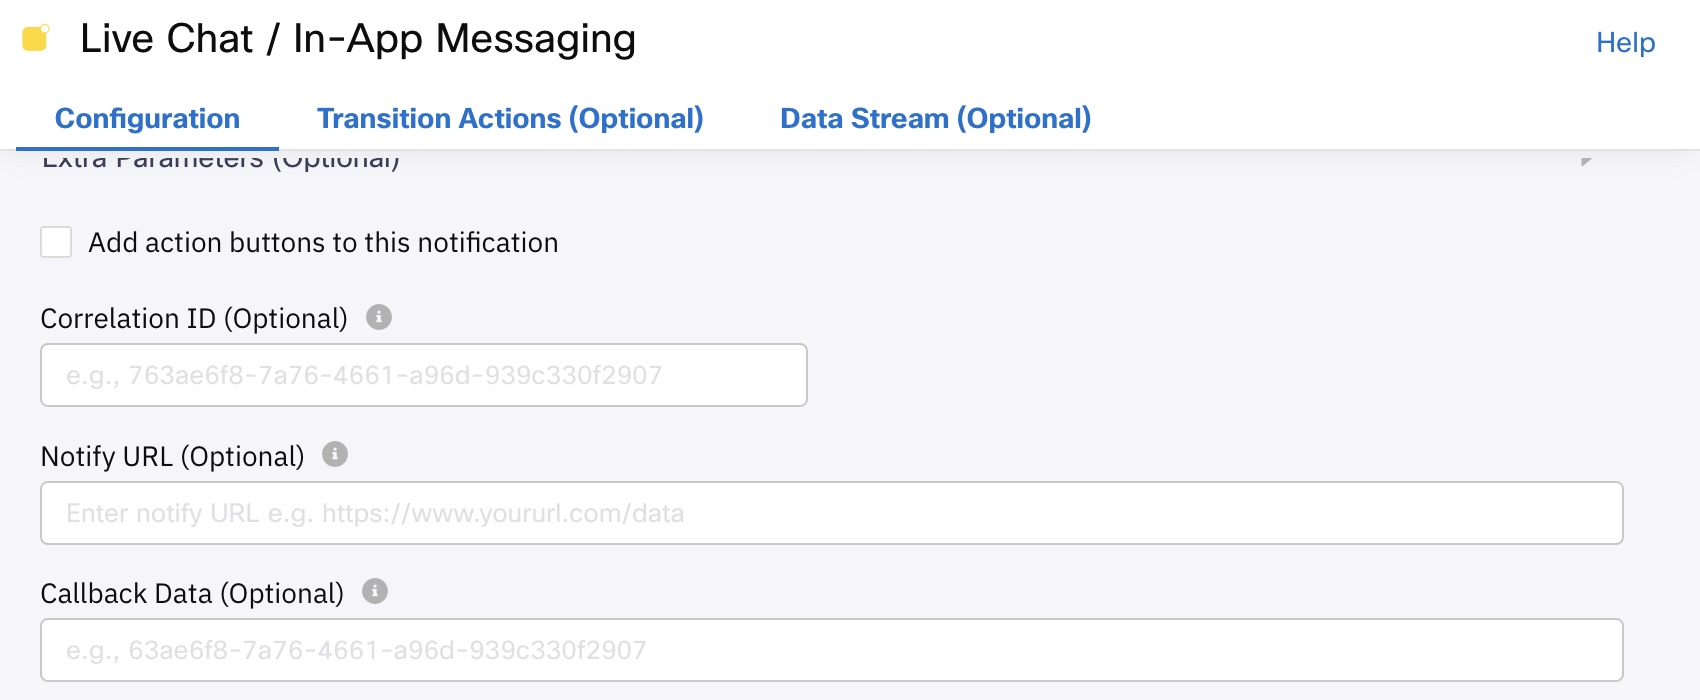
Correlation ID
You can assign a unique ID of your choice to each Live Chat/ In-App Messaging message. This ID is returned to the platform with the delivery report and can be used to identify the message.
Callback Data
In case there is additional data to be sent along with the delivery reports to the URL, you must specify that here.
Validations forCallback Data & Correlation ID:
- Callback Data, Correlation Id fields are optional for all the channels. Send node can be saved without providing these fields.
- All characters, Alphabets, Numbers, and special characters are accepted.
- Variables can be added.
- Hard coded values are accepted.
- On Platform side, there is no Max or Min length validation for these fields.
Notify URL
You can choose to notify a URL with the delivery report for the Live Chat/ In-App Messaging message. This field accepts only a valid URL or a variable. If an invalid URL is passed in API request or via a variable, then such request will not be considered eligible for retries.
Validations for Notify URL:
- It is an optional field optional for all the channels. Send node can be saved without providing these fields.
- Notify URL should be filled with proper URL format. Otherwise, error message ‘Invalid URL, field accepts only valid URL or variable’ will be displayed.
- When space is provided in front of the URL, Invalid URL, field accepts only valid URL or variable’ will be displayed.
- When space is provided at the end of the URL, space gets trimmed and ignored and DRs are received to the URL.
- No Max length validation.
- Variables can be added to this field.
Advance Options
Wait For
The life-cycle of Live Chat/In-App Messaging consists of three stages. You can wait for a callback at any of the stages before proceeding further in the flow by selecting any one of the following:
- Gateway Submit: The first stage where the configured message along with the destination is submitted to the gateway for delivery.
- Delivery Report: The second stage, in which the message is delivered to the targeted device.
- Read Report: The last stage is when the target user actually reads the message.
- Clicked (Generic Template only): Flow will wait for the template to be clicked. Once the template is clicked the flow will continue.
Expiry
Time in seconds or UTC, after which node session will timeout and the flow would proceed to the next node.
Node Outcomes
- onsuccess: Node executed successfully.
- onsubmit: Submitted to a gateway.
- ondrsuccess: Received DR for the transaction.
- Onread: Received RR for the transaction.
- onpolicyfail: the flow exits through this node outcome when the expiry condition cannot be met.
- ondrfail: Failed to receive DR.
- onerror: the flow exits through this node outcome when there is an error.
- Ontimeout: Session timeout.
Updated about 1 month ago