
Data Streams
View, configure, and enable Data Streams for channel assets
Viewing Data Streams
When the Admin enables a data stream for the tenant, you can view the data stream under the integrations type. After completing the configuration, users can either use the Data Streams at a send-and-receive node and optionally add context to the data or enable the data streaming at an asset level to receive all the messages exchanged via an asset. Configuring the data stream at an asset-level takes away the ability to add additional context to the payload.
Note
- Data Stream is supported only on the SMS, Email, Live Chat, RCS, Messenger, Apple Messages for Business, and WhatsApp channels.
- Data Integrations is decoupled from Pre-built integrations in 6.4.0 and is available as a standalone feature.
- The Data Streams feature is not supported on the Azure environment.
To view a data stream on the platform:
- Navigate to Assets > Integrations.
- Filter with Data Streams.
- Click Manage associated with the desired integration.
- If the data stream is enabled, you will see the Data Stream section on the Manage Integration page.
- While configuring the data stream, if the Admin has selected Dynamic as the Parameter Value for any of the variables (User Name, Password, Topic, and Endpoint), you will be prompted to enter the value here.

- Once all the configuration is done, click Save.
Configure a Data Stream in a Flow
To configure a data stream in a Start, Send, and Receive nodes in a flow:
- Go to the flow for which you want to configure the data stream.
- Select the channel in which you want to configure the data stream.
- Navigate to the Data Stream (Optional) tab.

- Click Add Data Stream.
- Choose the appropriate integration from the list.
- Click Add Context, if you want to build context to the Send or Receive nodes.

- For Parameter Name, enter the key name and the parameter will be included as data in the notification.
- For Value, enter the flow variables or a static value. This value will be included in the notification against the parameter name. You can add multiple data streams. However, you can choose a particular integration only once.
- Click Save.
Enable Data Streams for Assets
Configure Data Streams for all Assets at an Integration Level
- Log in to Webex Connect platform.
- Navigate to Assets > Apps.
- Select the desired app or number. The page contains the following details:
- Name: contains the name of the data stream.
- Description: contains the description
- Assets: Select one of the following:
- Enable by default for all assets: Select this option to enable the data stream for all the assets by default. You must also select the channels for which you want to enable the data stream.
- Choose to enable at asset level: Select this option to enable the data stream only for selected assets. To enable the data stream, you must navigate to the selected data stream and toggle the data stream button.
- Channels: contains the details about the channels for which you want to enable the data streams for.
- Events: All the events enabled for your tenant will be displayed
Configure a Data Stream at Asset Level
To configure the Data Stream at an asset level, you will have to enable Data Stream for the asset. The configuration to enable Data Stream at an asset level is found in the asset manage page, for example: To enable Data Stream at an asset level for RCS channel.
- Log in to Webex Connect platform.
- Navigate to Assets > Apps.
- Select the desired app or number.

- Toggle the Data Stream option to enable it at an asset level to send the messaging APIs (WhatsApp, RCS, Apple Message for Business and In-App Messaging) and receive a copy of the data from Outbound messages and Delivery Receipts for the Integration selected.
Select the required integrations from the drop-down. You can select one or more integrations using the checkboxes. Use the Select All option to select all the integrations. - Select the Receive data streaming for incoming messages on the asset checkbox if you want to receive a copy of Inbound messages.
- If a flow is not configured with the selected data integration - One copy of inbound message is sent to the data stream.
- If a flow is configured with the selected data integration - Two copies of inbound message are sent to the data stream, out of which one is from the flow.
- If a flow is configured but not with the selected data integration - One copy of inbound message is sent to the data stream.
- Click Submit For Approval.
Date Streams - Inbound and Outbound Messages, and Delivery Receipts
Please refer to the link for channel specific information related to Data Streams.
Data Stream: Event selection
To view a Data Stream:
- Navigate to Assets > Integrations.
- Select Data Streams from the Integration Type drop-down.
- Click Manage under Actions for the required data stream.
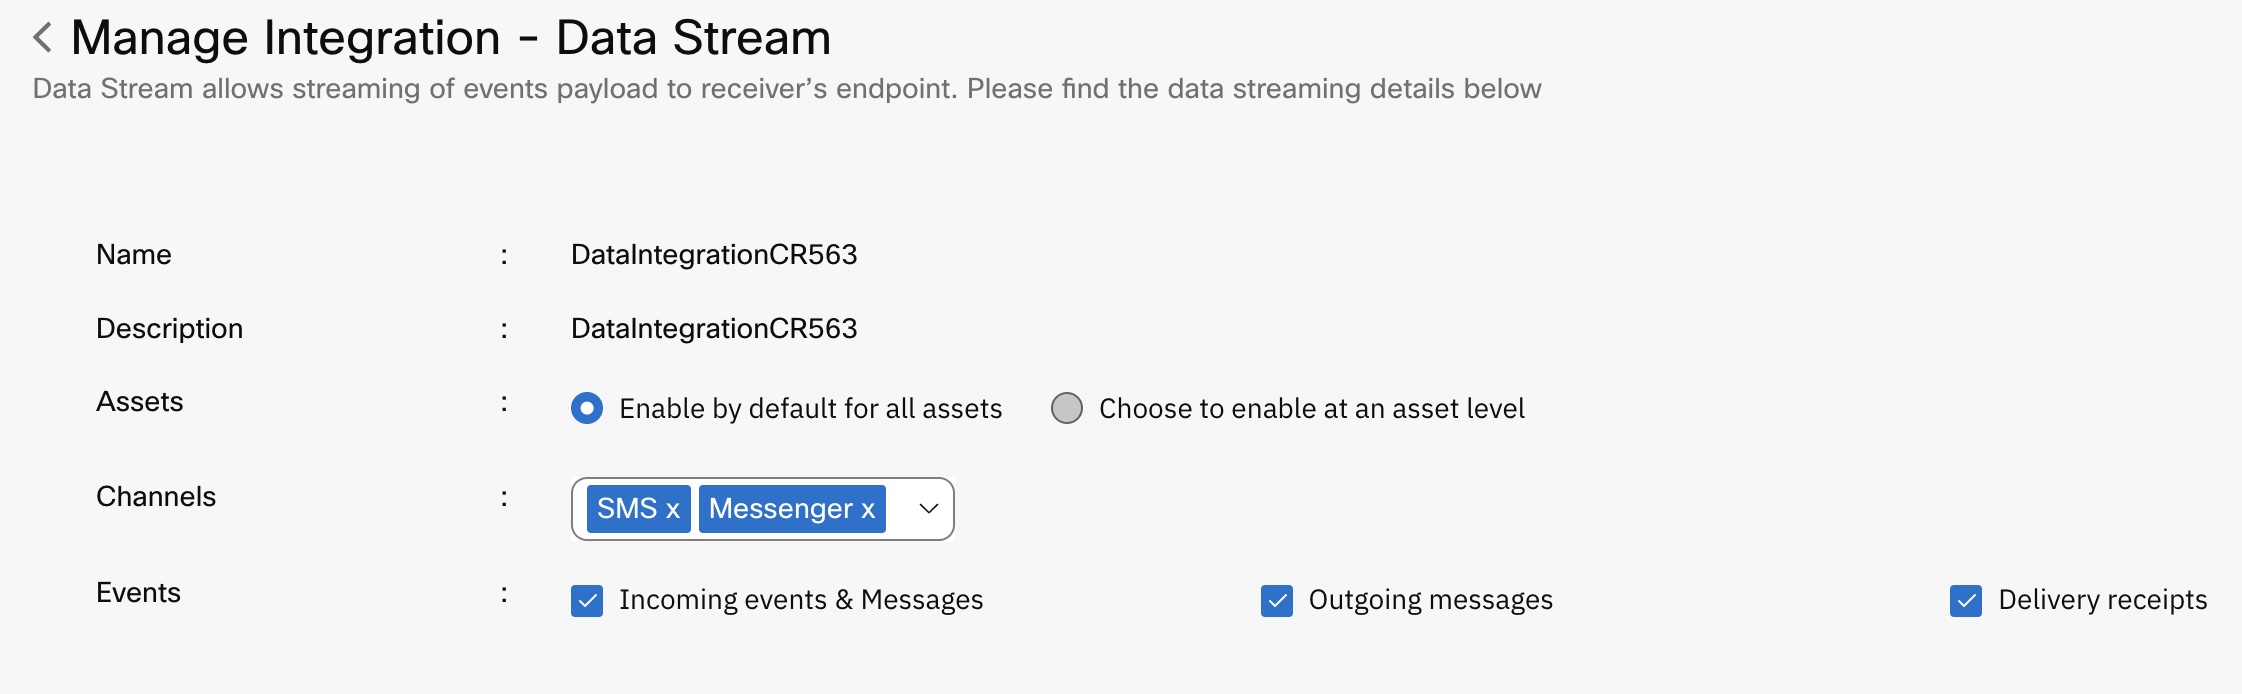
The Manage Integration – Data Stream page is displayed. The page contains the following details:- Name: contains the name of the data stream.
- Description: contains the description
- Assets: Select one of the following:
- Enable by default for all assets: Select this option to enable the data stream for all the assets by default. You must also select the channels for which you want to enable the data stream.
- Choose to enable at asset level: Select this option to enable the data stream only for selected assets. To enable the data stream, you must navigate to the selected data stream and toggle the data stream button.
- Channels: contains the details about the channels for which you want to enable the data streams for.
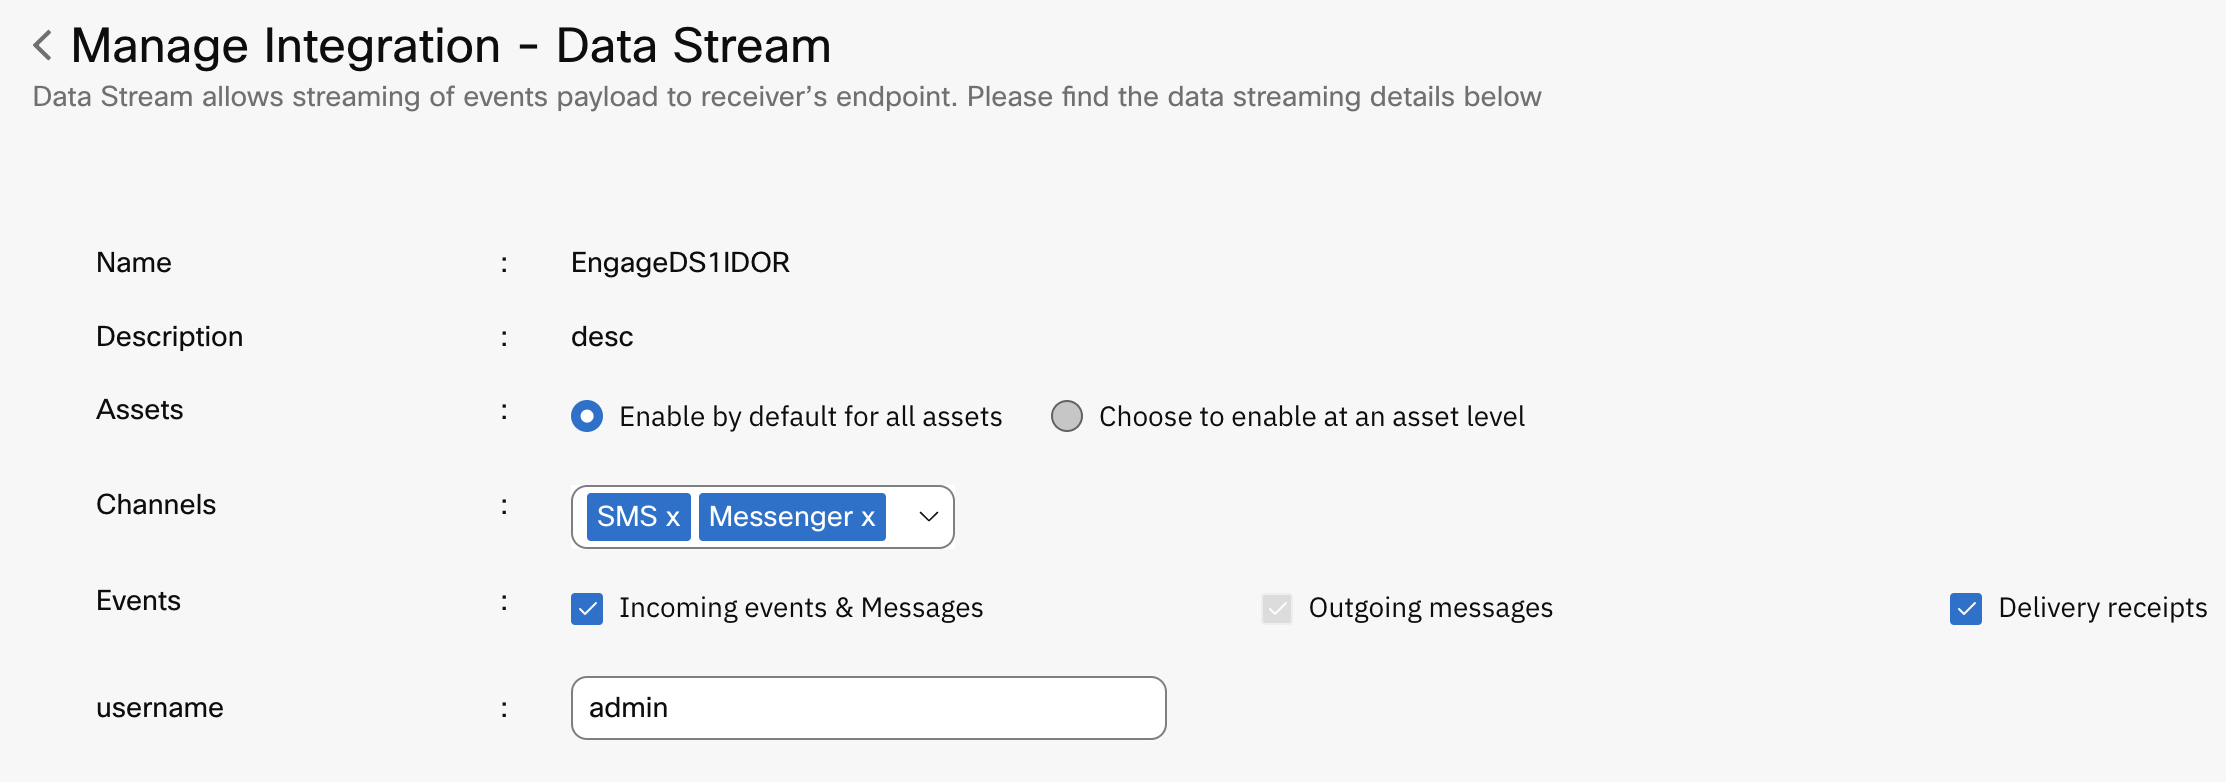
- Events: All the events enabled for your tenant will be preselected and the rest are in disabled state.
- Username: contains the name of the user who has provided the configuration.
Updated 25 days ago