
Google Business Messages Node
Webex Connect allows you to configure Google Business Messages prebuilt node for sending Text messages, Images, Standalone Rich Card, and Carousel Rich Cards. Suggestions can be sent with any of these message types.
Prerequisites
- You must have a Google Business Messages account and at least 1 agent onboarded with Google Business Messages.
- To add your own Google Business Messages asset on Webex Connect or to create a new Google Business Messages account through Webex Connect (Messaging Service Partner), please refer to this page for instructions - Google Business Messages
Node Configuration - Generic
Please note that the procedure common to all message types is described below. For step 6, follow the specific procedure based on the type of message you select.
Drag-and-drop the node onto the visual flow builder and double-click the node to configure it.
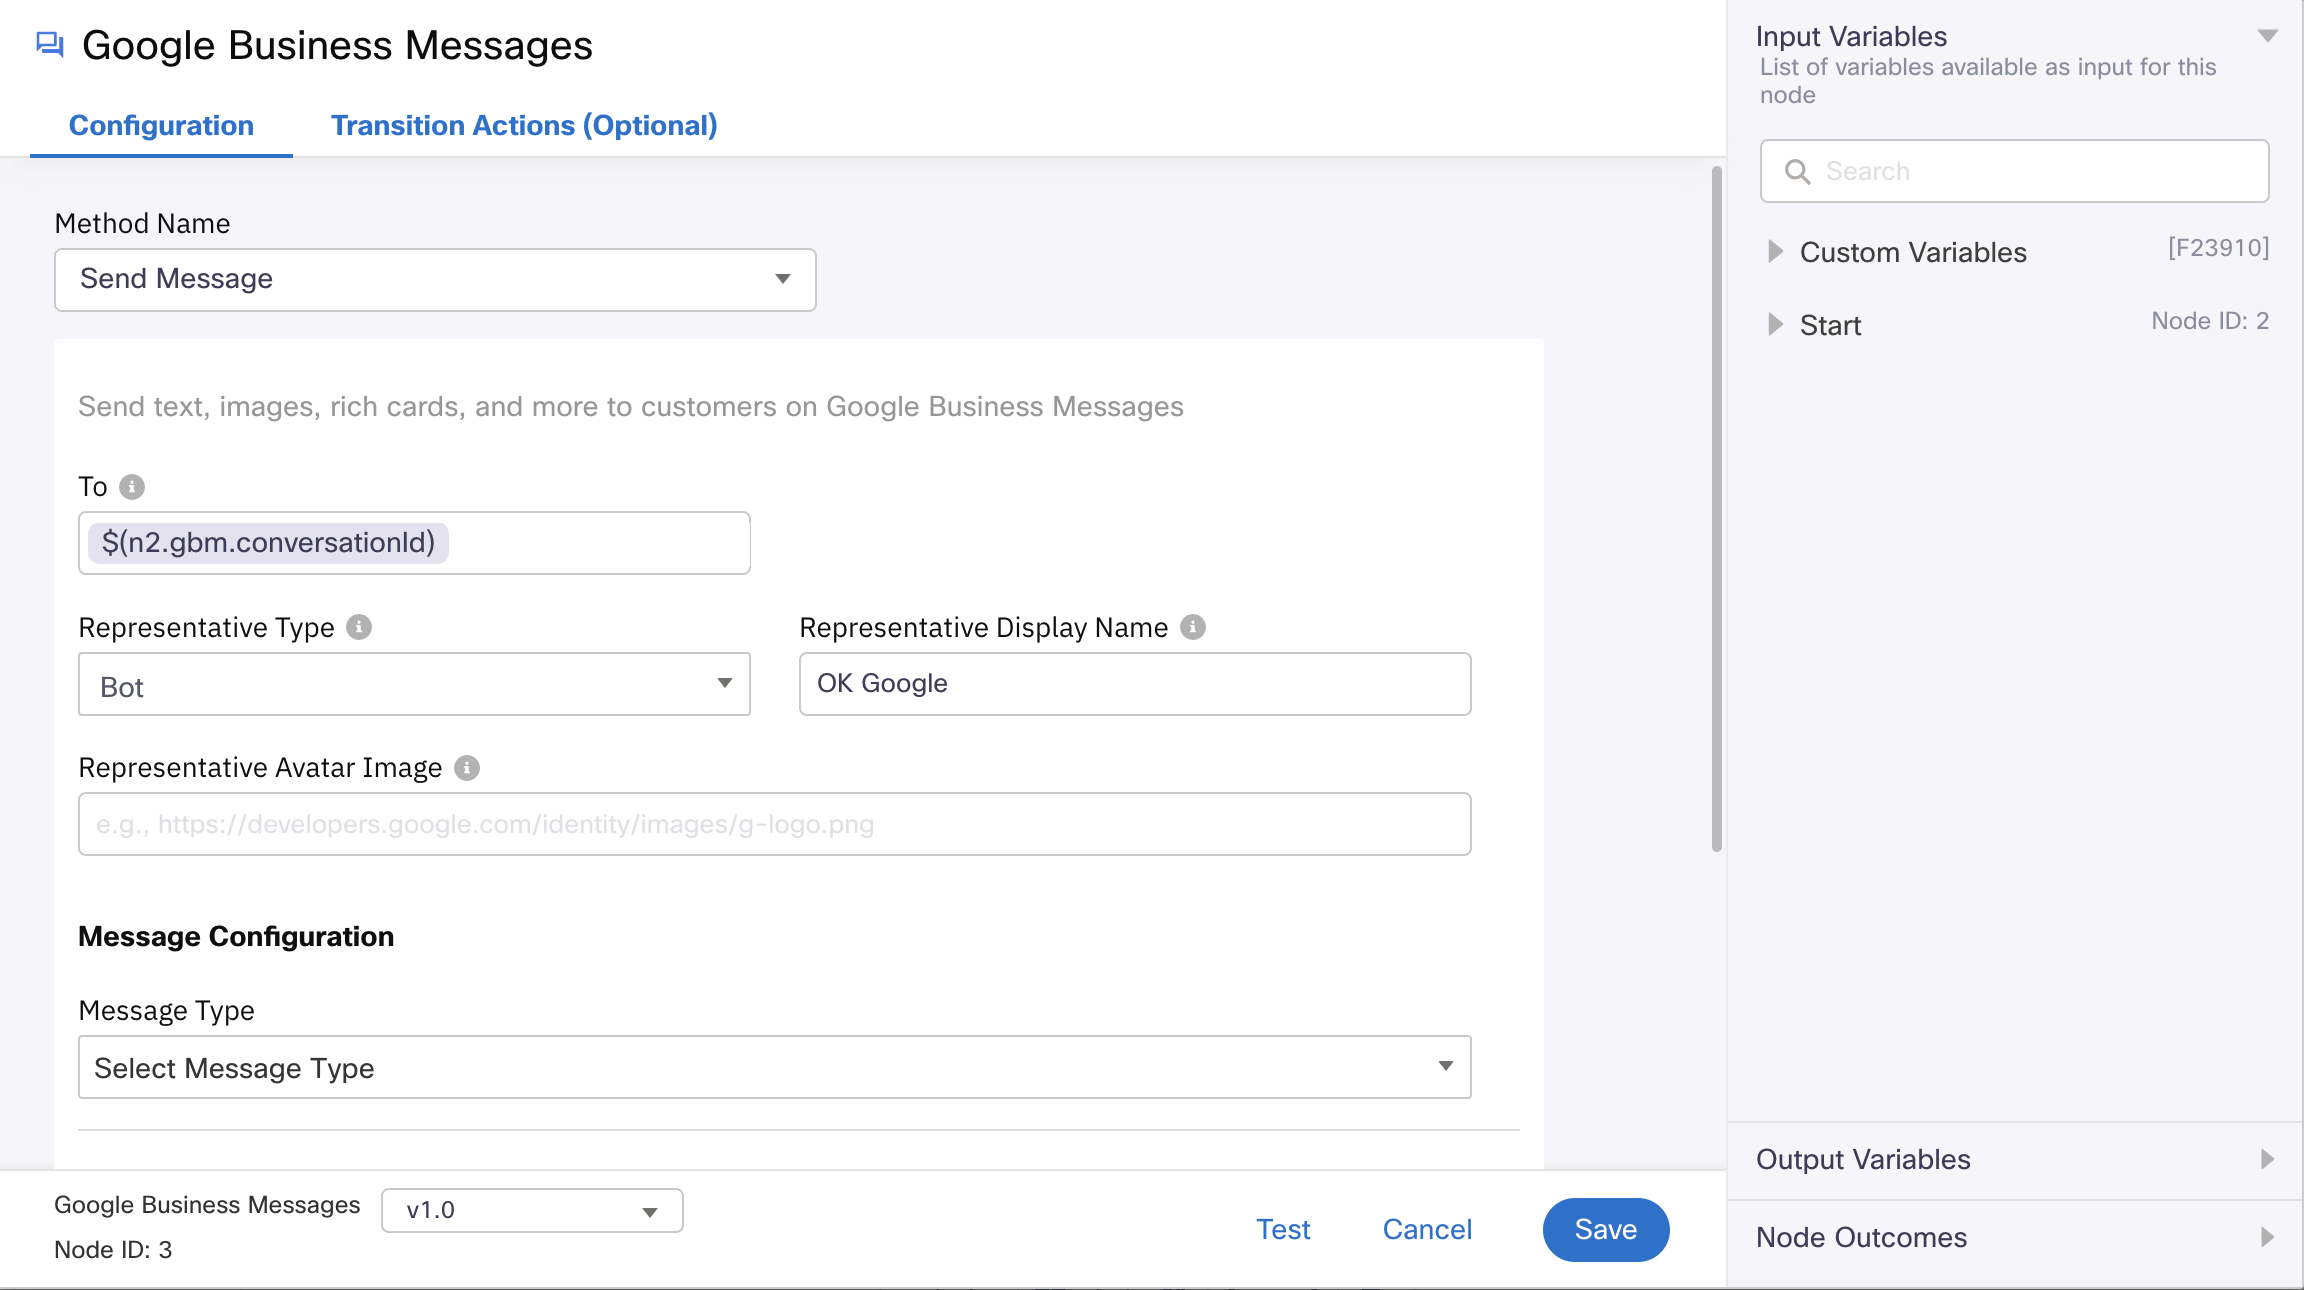

- Select Send Message under the Method Name drop-down list box.
- Enter the Conversation ID in the To field.
- Select one of the following options in the Representative Type field:
- Human
- Bot
- Enter the representative name in the Representative Display Name field.
- Enter the thumbnail image URL for Representative Avatar Image.
- In the Message Configuration, follow one of the procedures below depending on the Message Type selected.
- In the Message Suggestions (Optional) section:
- Suggestion Type: Select from:
- Reply: Select this option to configure data to be displayed on the user’s screen when they send an initial query to the business.
- Action: Select this option to configure data to be displayed for perform an action based on the user’s initial query.
- Live Agent Request: This option is not displayed when the Representative Type selected is Human. Select to configure data for transferring the query to a live agent.
- Reply Text: Displayed when the Suggestion Type selected is Action or Reply. Enter text to be displayed on a button on the user’s device.
- Action Type: Displayed only when the suggestion type Action is selected.
- Open URL: Select this option if a URL logon action has to be performed for the user.
- URL: Enter the URL to be browsed from the user’s phone.
- Dial Action: Select this option if a dial action is to be prompted to the user.
- Phone Number: Displayed only when the Action Type selected is Dial Action. Enter the phone number to be patched directly from the user’s screen.
- Open URL: Select this option if a URL logon action has to be performed for the user.
- Reply Postback Data: Displayed when the Suggestion Type selected is Action or Reply. Enter text to be posted back to the business in the string format as supportive information to the text added in the Reply Text field.
- Suggestion Type: Select from:
- (Optional) Enter values for the following:
- Correlation ID: Unique identifier for the message.
- Notify URL: A URL you choose to notify about the delivery status of the message.
- Callback Data: Additional data to be sent along with the delivery reports to the URL.
- Click Save.
Message Types
Configuring Text
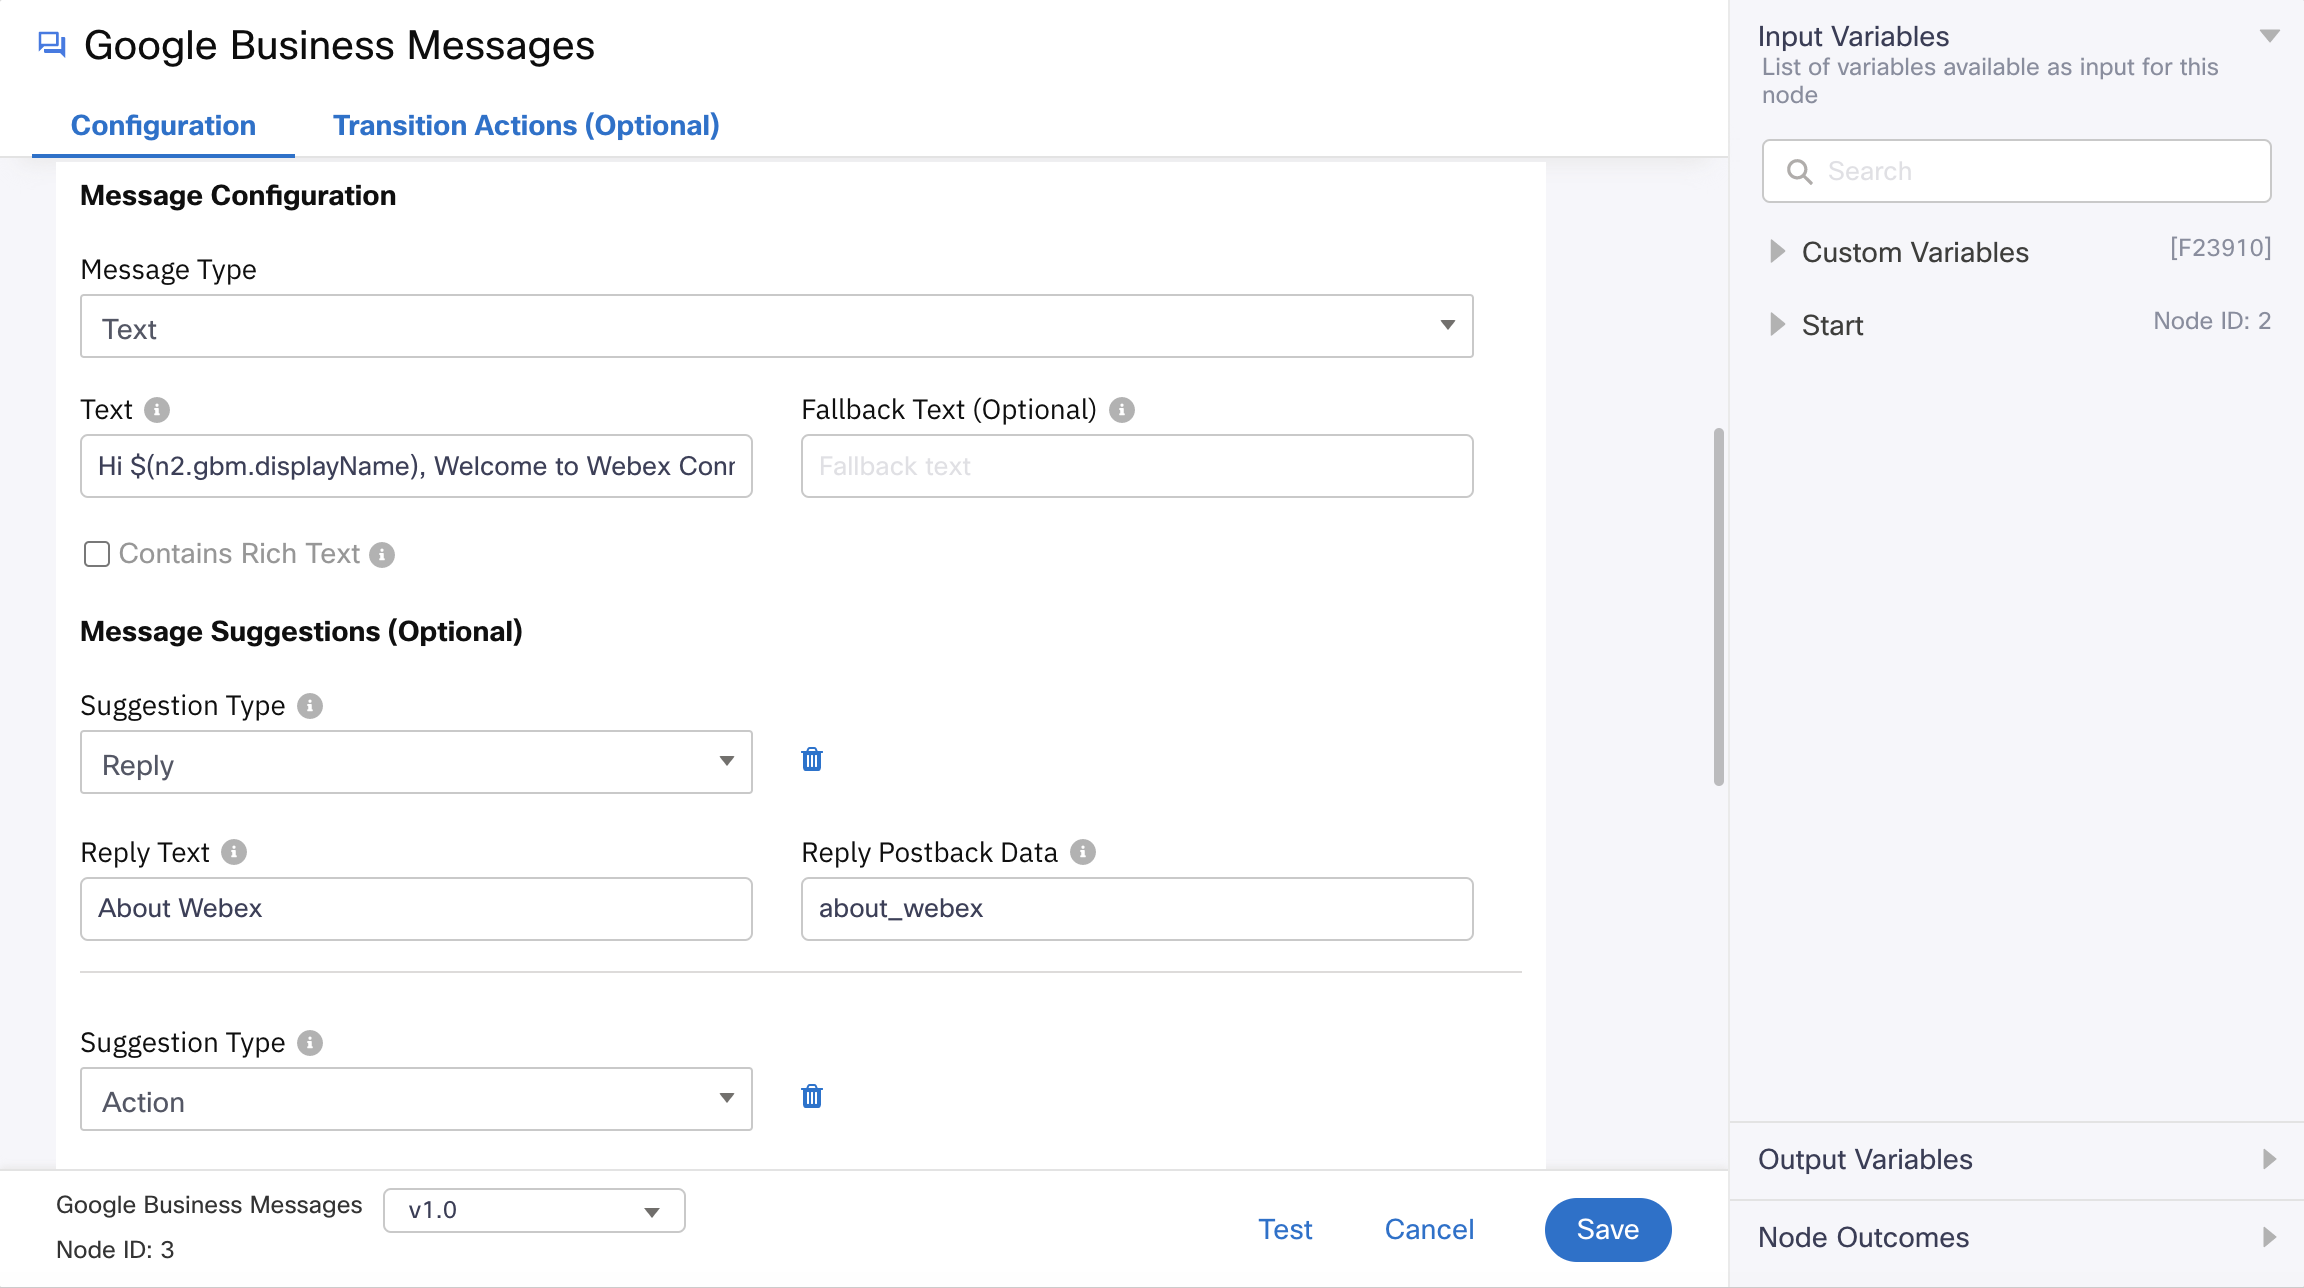
- In the Message Configuration section:
- Message Type: Select Text.
- Text: Enter text to be displayed in your message not exceeding the prescribed 3072 character limit.
- Fallback Text: Enter text that should be displayed if the user’s device doesn’t support the message type or content.
- (Optional) Select Contains Rich Text if your message contains bold text, hyperlinks, or line breaks.
- In the Message Suggestions (Optional) section, configure details if you want to configure reply, action, and live agent request.
- Click Save.
Configuring Image
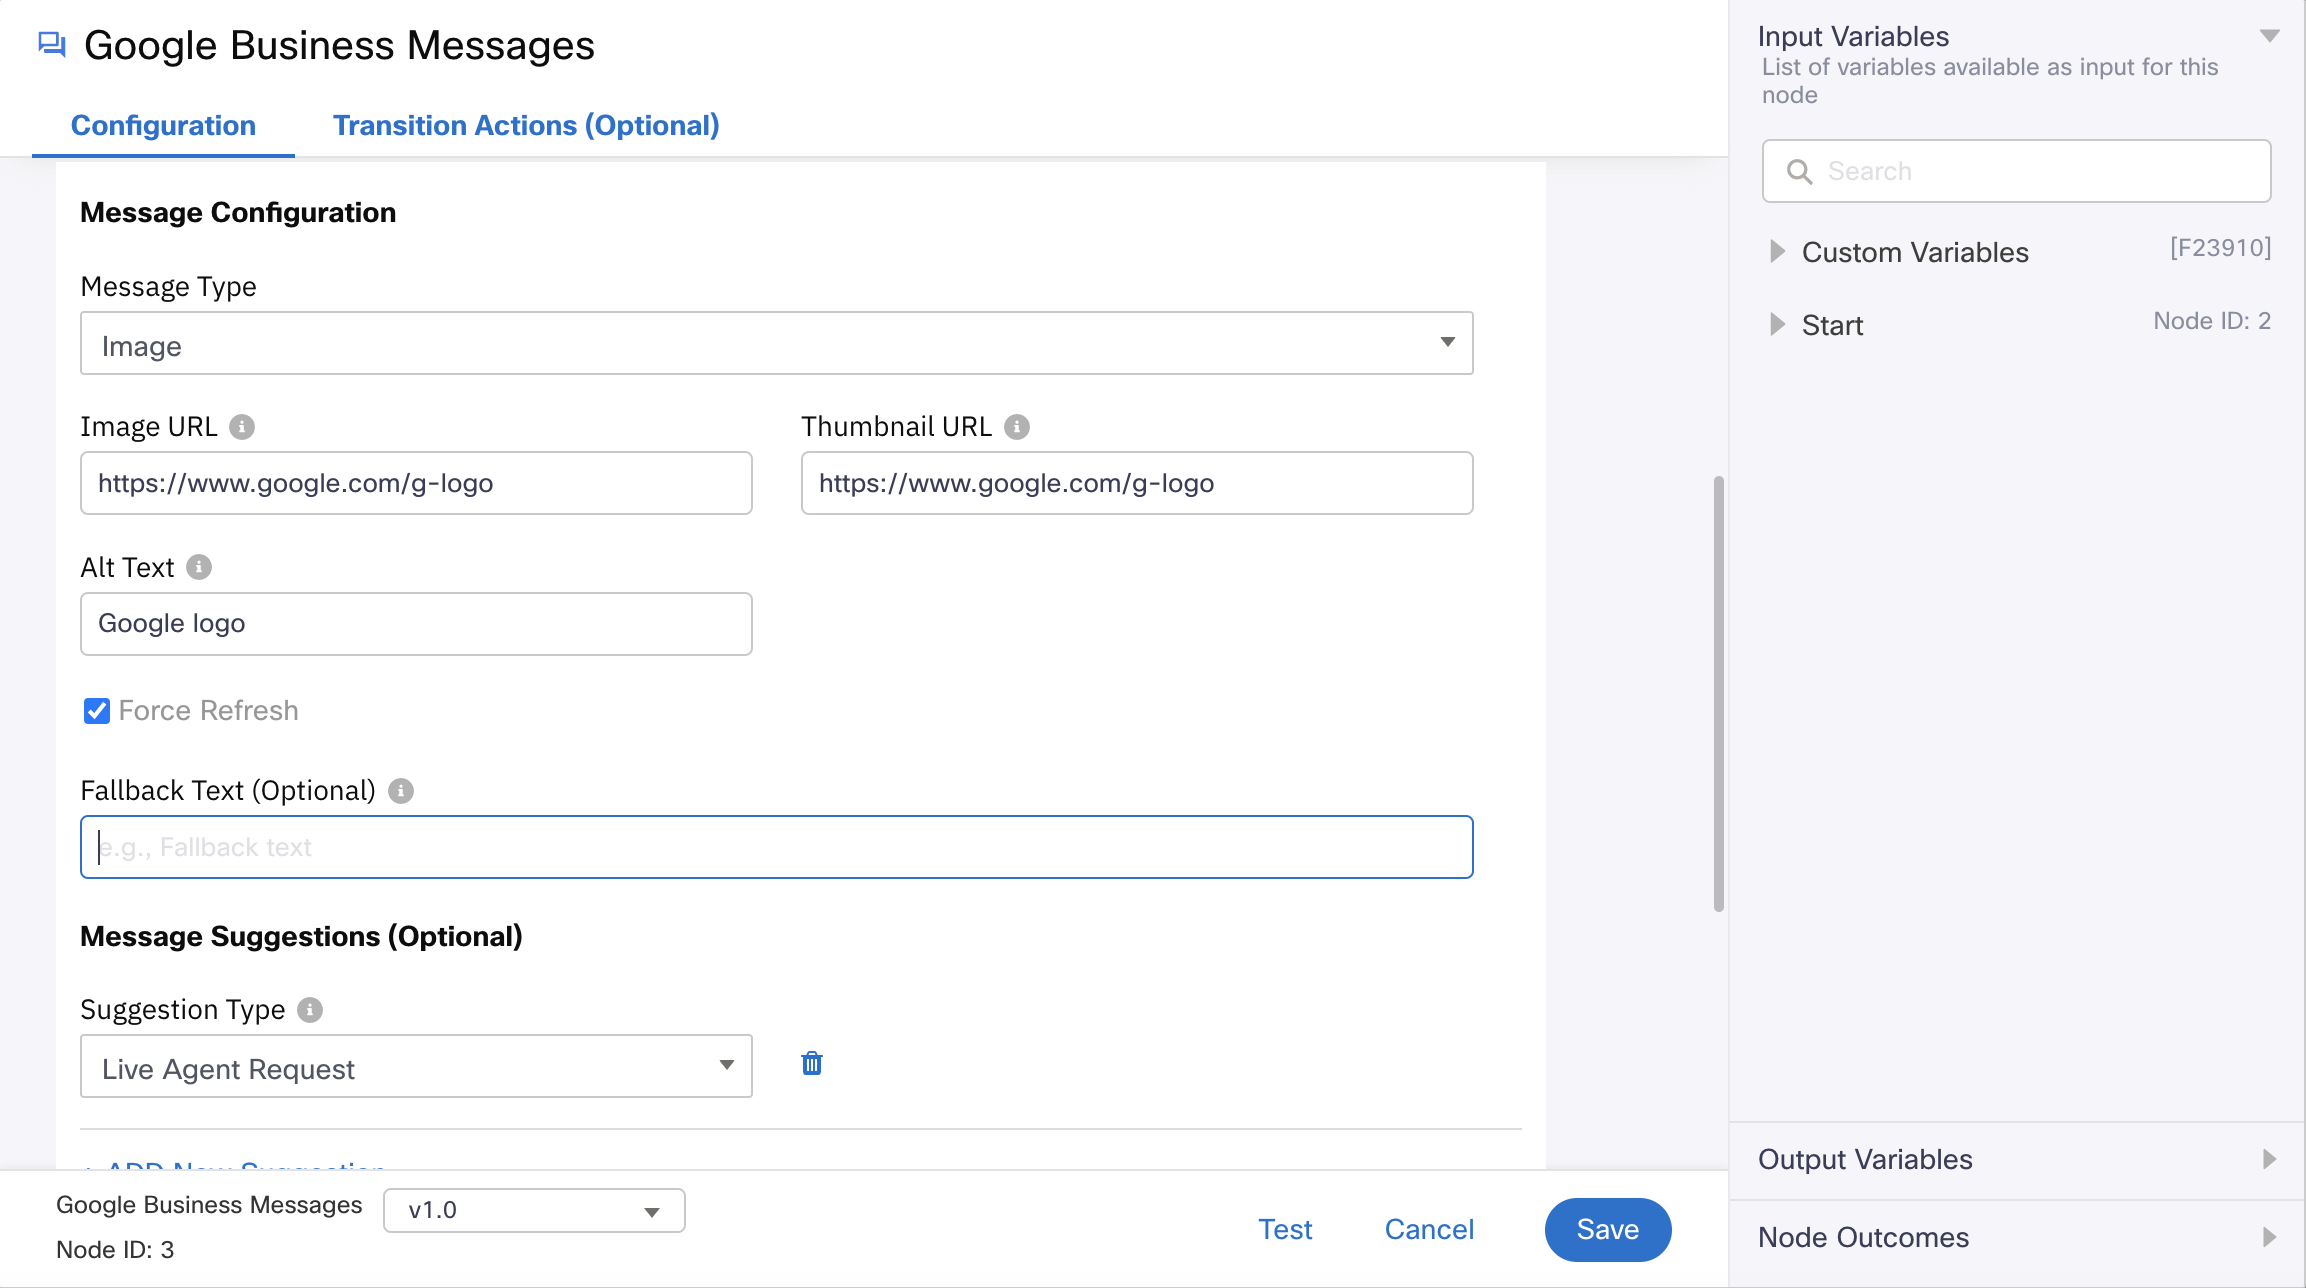
- In the Message Configuration section, do the following:
- Message Type: Select Image.
- Image URL: Paste the image URL.
- Thumbnail URL: Paste the thumbnail image URL.
- Alt Text: Enter the alternate text to describe details about the media for accessibility purposes.
- Force Refresh: Select this option if you would prefer to have the images and data rendered from the server instead of the locally saved cache data in your system, every time you visit the application.
- Fallback Text: Enter the fallback text that is displayed if the user's device doesn't support the message type or content.
- In the Message Suggestions (Optional) section, configure details if you want to configure reply, action, and live agent request.
- Click Save.
Configuring Rich Card
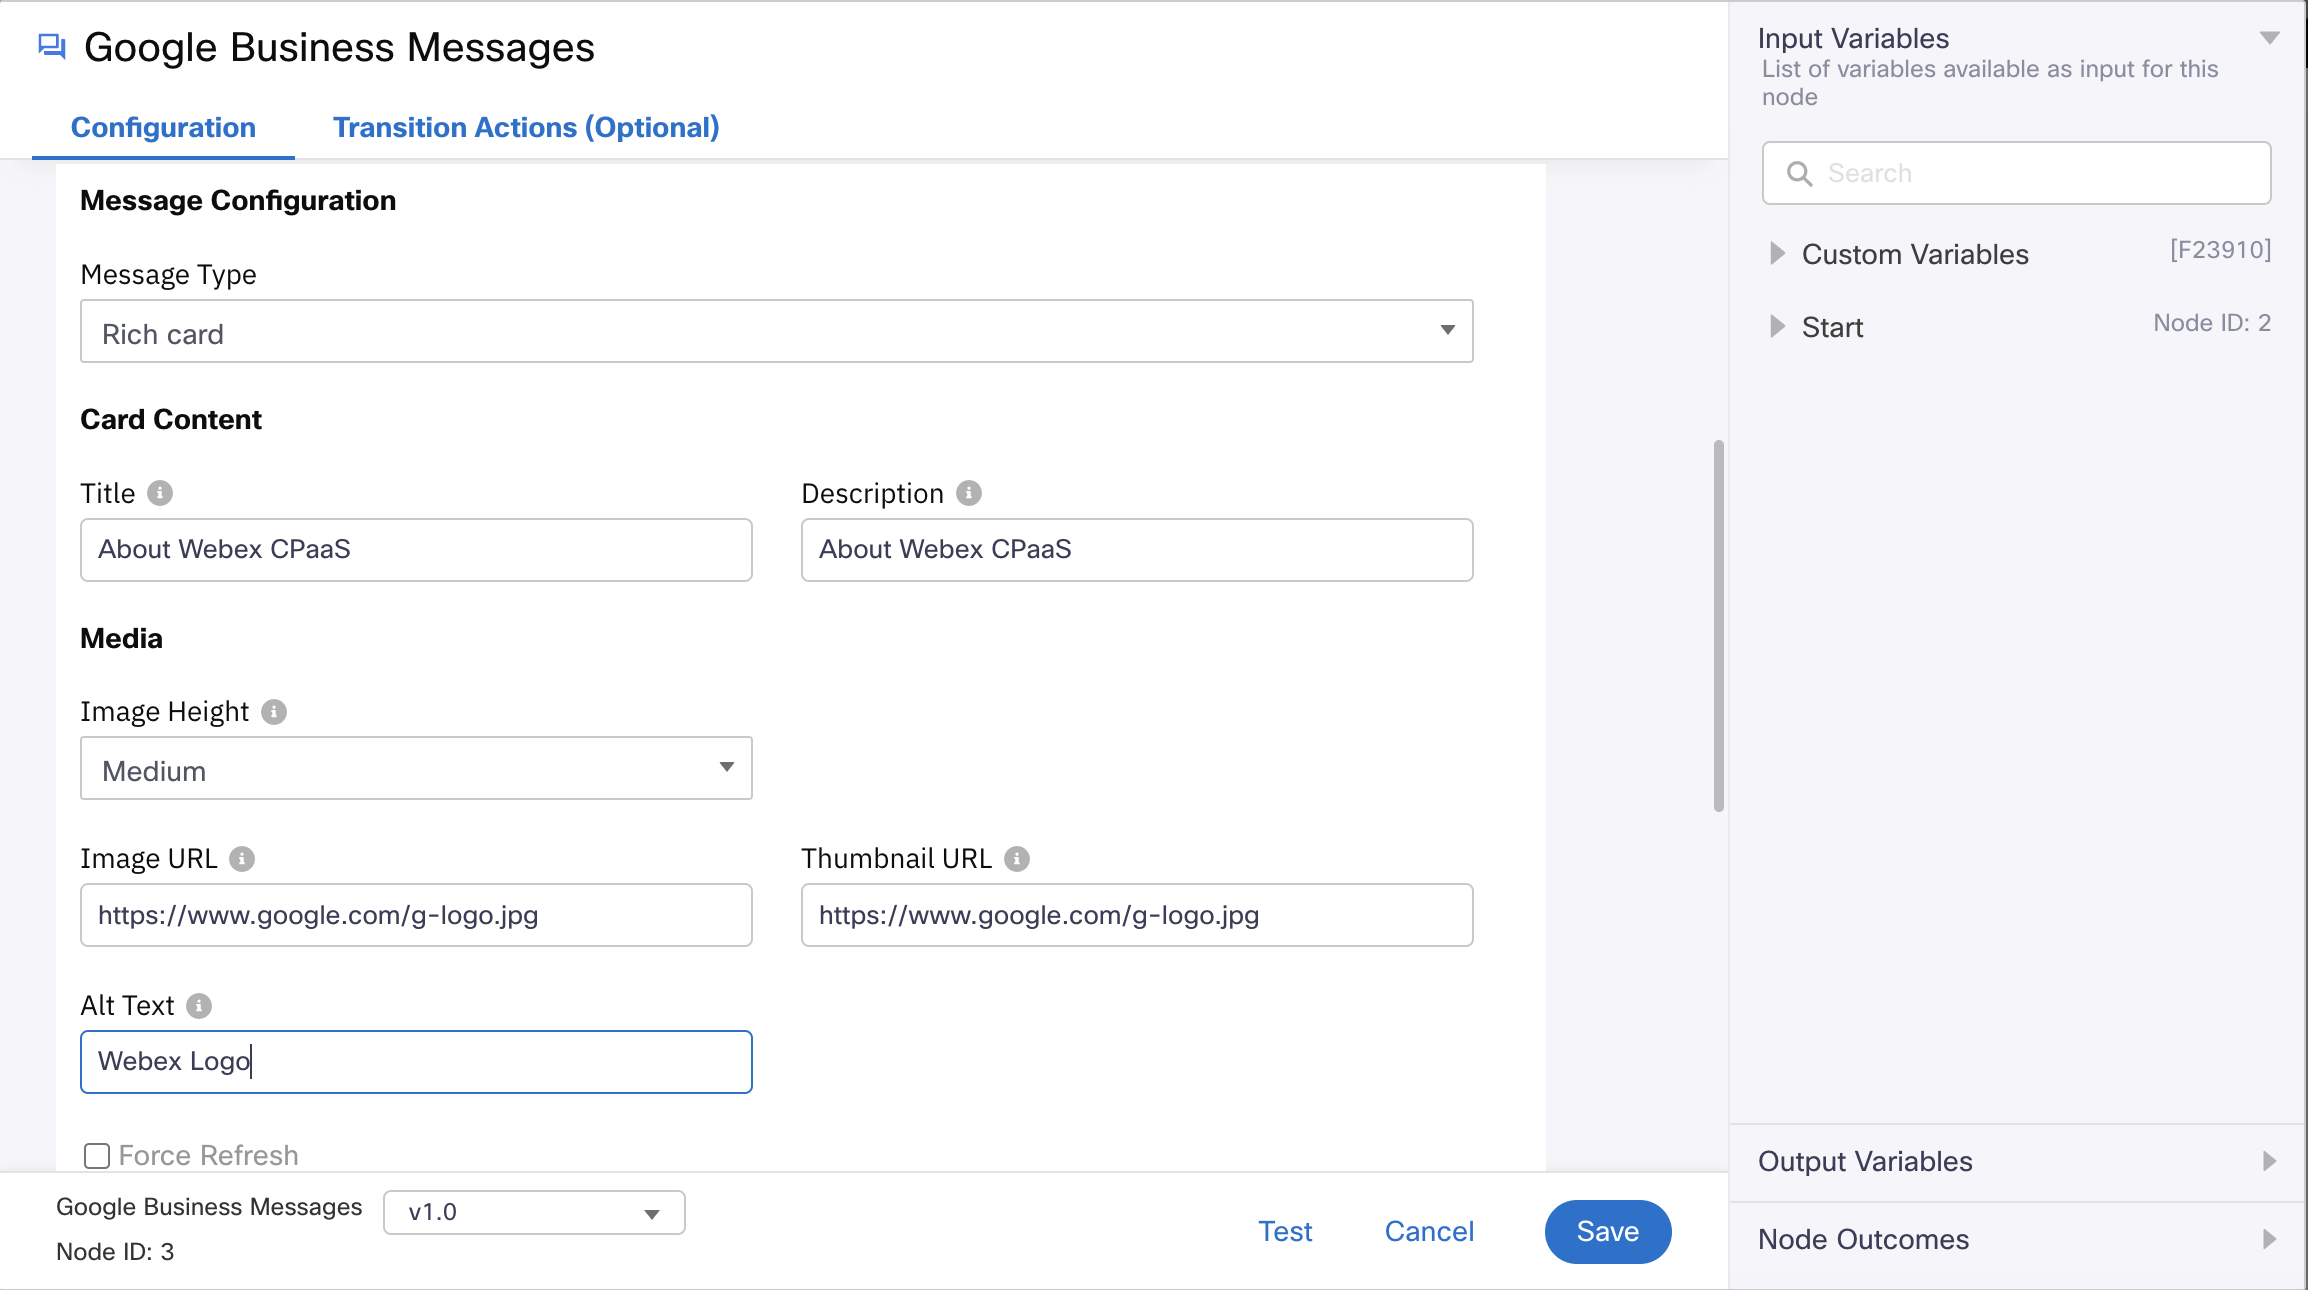
- In the Message Configuration section, do the following:
- Message Type: Select Rich Card.
- Card Content:
- Title: Enter the title of the card. Character limit is 200.
- Description: Enter the description of the card. Character limit is 2000.
- In the Media section:
- Image Height: Select the height of the image to be displayed between the options Short, Medium, and Tall.
- Image URL: Paste the image URL.
- Thumbnail URL: Paste the thumbnail image URL.
- Alt Text: Enter the alternate text to describe details about the media for accessibility purposes.
- Force Refresh: Select this option if you would prefer to have the images and data rendered from the server instead of the locally saved cache data in your system, every time you visit the application.
- Fallback Text: Enter the fallback text that is displayed if the user's device doesn't support the message type or content.
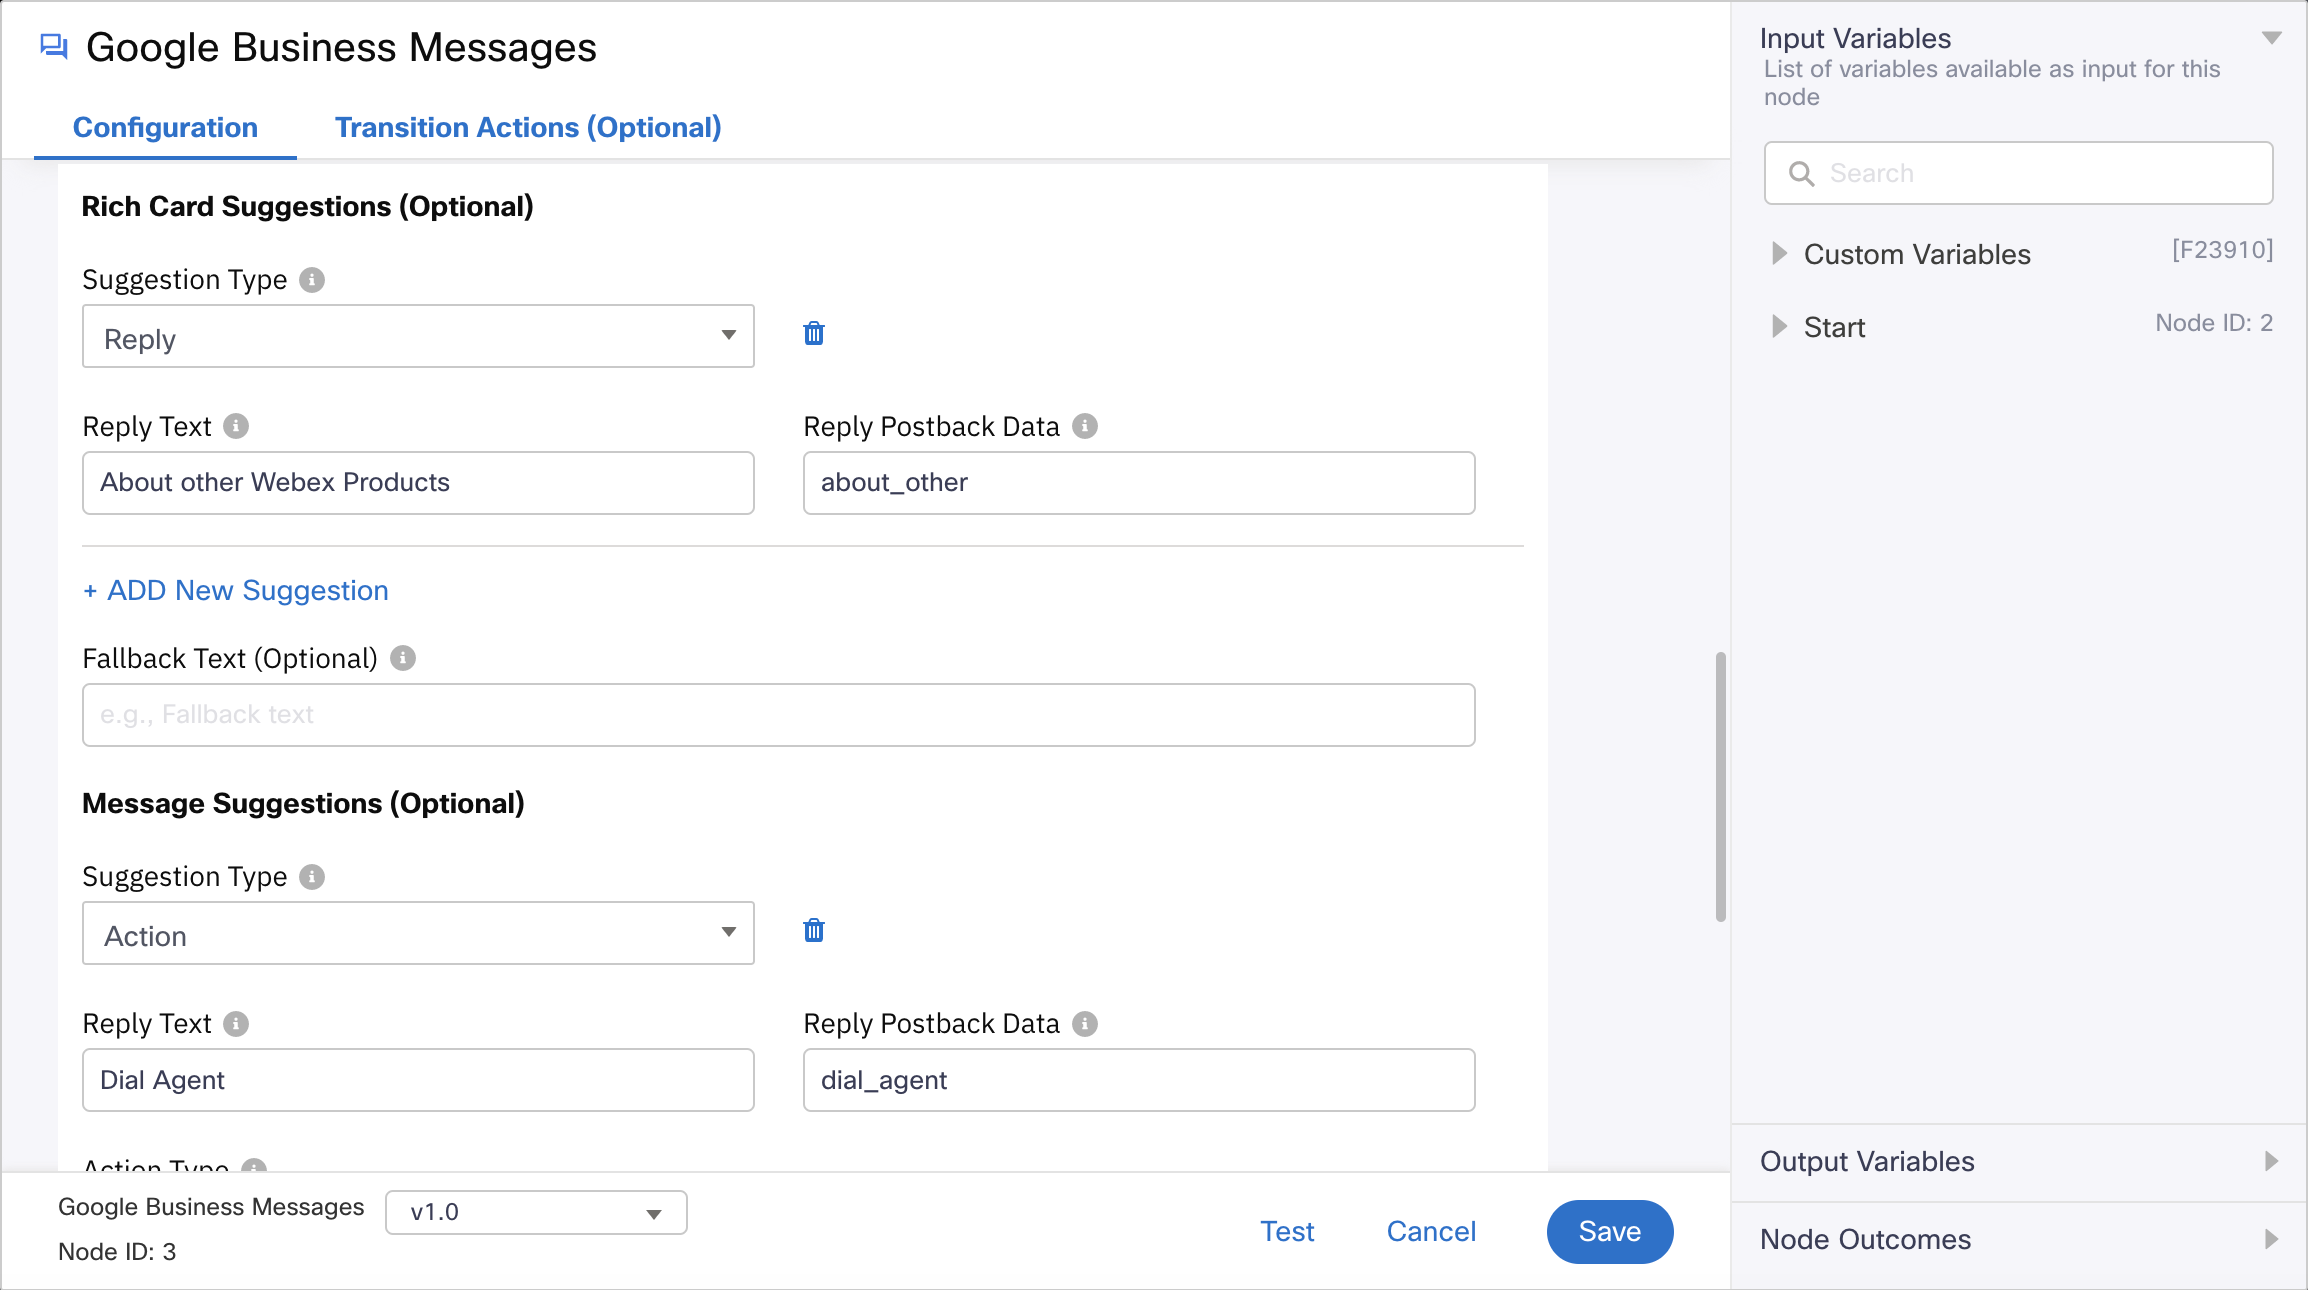
- In the Rich Card Suggestions (Optional) section:
- Suggestion Type: Select from:
- Reply: Select this option to configure data to be displayed on the user’s screen when they send an initial query to the business.
- Action: Select this option to configure data to be displayed for perform an action based on the user’s initial query.
- Reply Text: Displayed when the Suggestion Type selected is Action or Reply. Enter text to be displayed on a button on the user’s device.
- Action Type: Displayed only when the suggestion type Action is selected.
- Open URL: Select this option if a URL logon action has to be performed for the user.
- URL: Enter the URL to be browsed from the user’s phone.
- Dial Action: Select this option if a dial action is to be prompted to the user.
- Phone Number: Displayed only when the Action Type selected is Dial Action. Enter the phone number to be patched directly from the user’s screen.
- Open URL: Select this option if a URL logon action has to be performed for the user.
- Reply Postback Data: Displayed when the Suggestion Type selected is Action or Reply. Enter text to be posted back to the business in the string format as supportive information to the text added in the Reply Text field.
- Suggestion Type: Select from:
- In the Message Suggestions (Optional) section, configure details if you want to configure reply, action, and live agent request outside of the rich card. For field related information, refer the above step.
- Click Save.
Configuring Carousel
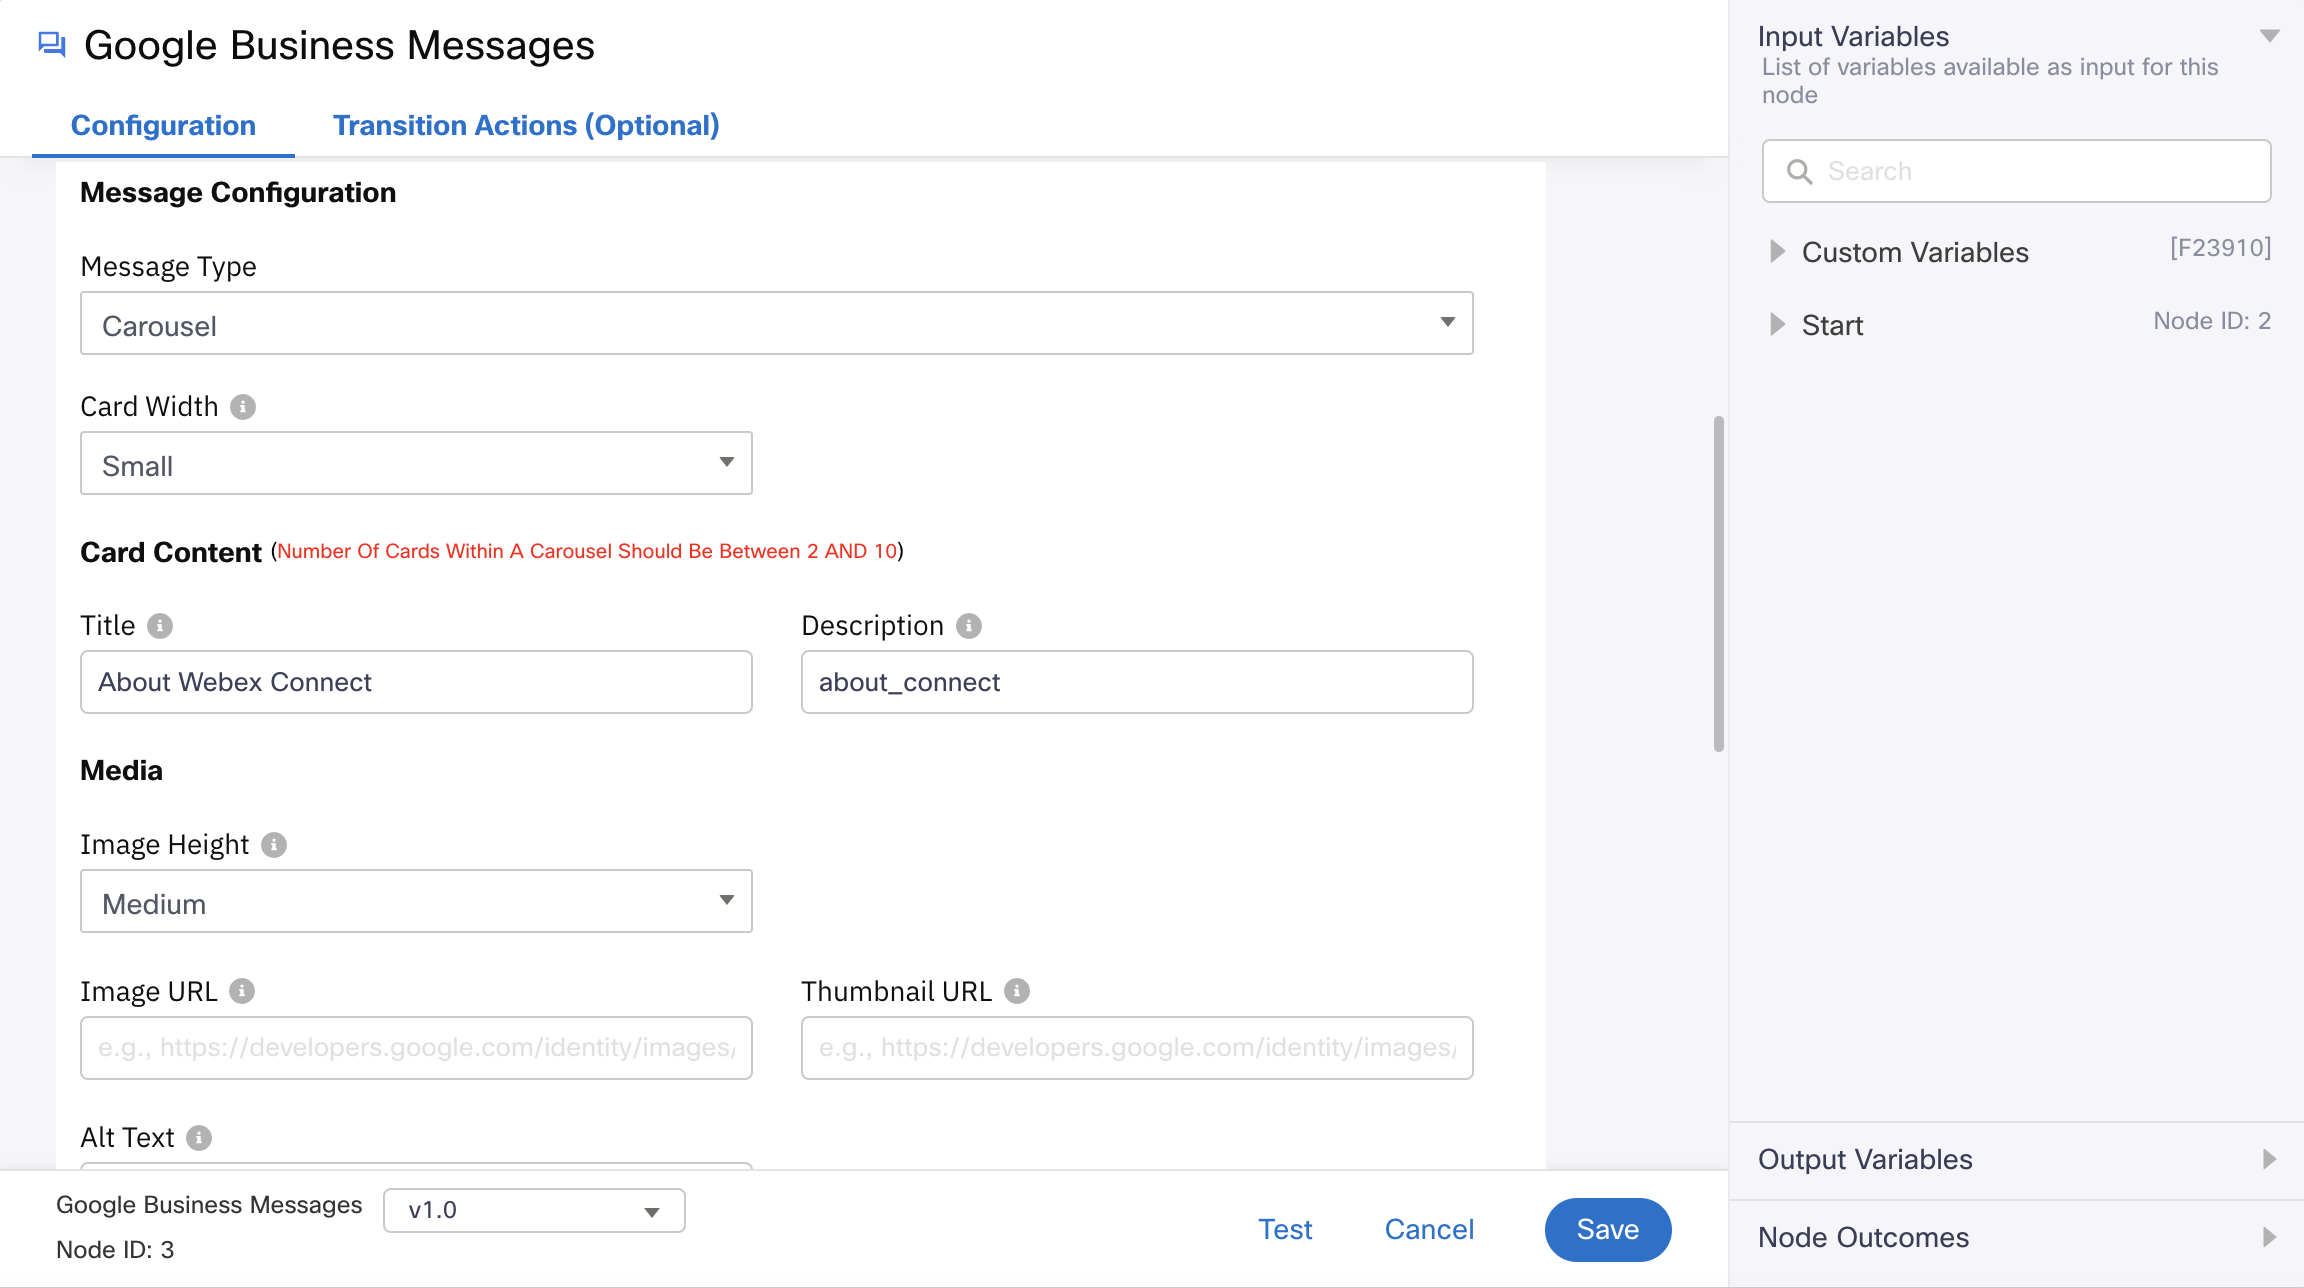
- In the Message Configuration section, do the following:
- Message Type: Select Rich Card.
- Card Content:
- Title: Enter the title of the card. Character limit is 200.
- Description: Enter the description of the card. Character limit is 2000.
- In the Media section:
- Image Height: Select the height of the image to be displayed between the options Short, Medium, and Tall.
- Image URL: Paste the image URL.
- Thumbnail URL: Paste the thumbnail image URL.
- Alt Text: Enter the alternate text to describe details about the media for accessibility purposes.
- Force Refresh: Select this option if you would prefer to have the images and data rendered from the server instead of the locally saved cache data in your system, every time you visit the application.
- Fallback Text: Enter the fallback text that is displayed if the user's device doesn't support the message type or content.
- In the Carousel Suggestions (Optional) section:
- Suggestion Type: Select from:
- Reply: Select this option to configure data to be displayed on the user’s screen when they send an initial query to the business.
- Action: Select this option to configure data to be displayed for perform an action based on the user’s initial query.
- Reply Text: Displayed when the Suggestion Type selected is Action or Reply. Enter text to be displayed on a button on the user’s device.
- Action Type: Displayed only when the suggestion type Action is selected.
- Open URL: Select this option if a URL logon action has to be performed for the user.
- URL: Enter the URL to be browsed from the user’s phone.
- Dial Action: Select this option if a dial action is to be prompted to the user.
- Phone Number: Displayed only when the Action Type selected is Dial Action. Enter the phone number to be patched directly from the user’s screen.
- Open URL: Select this option if a URL logon action has to be performed for the user.
- Reply Postback Data: Displayed when the Suggestion Type selected is Action or Reply. Enter text to be posted back to the business in the string format as supportive information to the text added in the Reply Text field.
- In the Message Suggestions (Optional) section, configure details if you want to configure reply, action, and live agent request outside of the rich card. For field related information, refer the above step.
- Click Save.
- Suggestion Type: Select from:
Node Outcomes
Nodes in Webex Connect have one or more outcome edges (that can be used to configure transitions to the next logical node based on the requirements) corresponding to various success or error cases. Some of the standard node outcomes include:
| Node Edge (Color) | Node Outcome | Meaning |
|---|---|---|
| Green | accepted | The flow exits through this edge when the node executes successfully. |
| Amber | onTimeout | The flow exits through this edge when message request times out. |
| Red | onError | The flow exits through this edge when request processing fails due to an error |
| Red | onInvalidData | The flow exits through this edge when request processing fails due to missing or invalid data |
| Red | onBadRequest | The flow exits through this edge when request processing fails due to connection error |
| Red | onInternalServerError | The flow exits through this edge when request processing fails due to platform error |
Differences between a native Send node and a prebuilt integration node
| Feature | Native Send Node | Send Node using Pre-built Integration Framework |
|---|---|---|
| Throughput | Outbound message requests via native nodes do not count against the Messaging API TPS limitations as that check is bypassed. | Utilises Messaging API and hence shares the throughput quota with Messaging API. |
| Reporting | Gets associated with the Service in which the flow exists. | Same as the native send node. |
| Ability to Wait for DR | Offers the ability to wait for DR and add conditional logic based on DR receipt within the configured time limit. | The pre-built node doesn’t have this feature for the same reasons as those that apply to Messaging API. |
| Node Provisioning | Controlled through Flow Palette Configurations. | Controlled through pre-built integration provisioning framework. |
| Versioning | Not something that we do today though is a technical possibility. | Commonly done for nodes built using pre-built integration framework. |
Updated 4 months ago